

Key Takeaways
Tesla Model S door handles combine an electrically operated presentation mechanism with a manual means of opening the door. Most failures become easier to understand once the handle, latch, wiring, and control signals are treated as separate parts of one system.
- A handle that fails to present is not automatically a failed latch.
- Early and later handle assemblies are not interchangeable without checking fitment.
- Symptoms such as noise, slow movement, and intermittent operation can point to mechanical wear or electrical faults.
- A repair kit may suit a damaged internal gear or microswitch, while other faults call for a complete assembly.
- Ice, dirt, moisture, and forceful manual operation can turn a small problem into a larger repair.
How Tesla Model S door handles work
The exterior handle is designed to sit flush until the car receives an unlock or approach signal. It then moves outward far enough for the user to pull it, while the latch releases through a separate mechanism. Understanding that sequence helps prevent a common mistake: replacing the entire handle when the real fault is in the latch, wiring, or control circuit.
The electronic release and mechanical backup
The normal release depends on low-voltage power, switches, sensors, and an electric actuator. When the powered function is unavailable, the interior manual release provides a mechanical way to open the door, although it may not behave like the normal exterior control. Use it deliberately rather than pulling hard on an exterior handle that has not presented.
A manual release is best treated as an emergency path, not a substitute for diagnosis. If the inside release works but the outside handle does nothing, the fault is more likely in the exterior release path, its wiring, or the handle assembly than in the basic latch alone.
How the handle presents and retracts
Presentation and retraction are short, powered movements, so resistance matters. A worn gear, damaged pivot, contaminated track, or weak electrical connection can make the movement slow or incomplete. A handle that stops halfway may still be receiving power; it may simply be unable to complete the mechanical travel.
The sound is useful evidence. A brief motor noise with no movement suggests a mechanical disconnect or worn drive component, while silence points more toward power, wiring, a switch, or control input. The symptom sequence matters more than any single sound.
Differences between front and rear door handles
Front and rear positions should be treated as different fitment questions. Their assemblies, wiring paths, trim access, and physical orientation can vary, so a part that looks similar is not automatically suitable for another door. Left-hand and right-hand versions also need to be matched before work begins.
The same logic applies when comparing a front exterior release with a rear one: identify the door, side, generation, and connector before ordering anything. That small amount of preparation prevents a great deal of rework.
Tesla Model S door handle generations
Early self-presenting handles used internal parts that could wear or break, and later designs changed the assembly and its service approach. Generation labels are useful shorthand, but they are not enough on their own to confirm compatibility. Model year, door position, side, connector, and VIN remain the safer reference points.
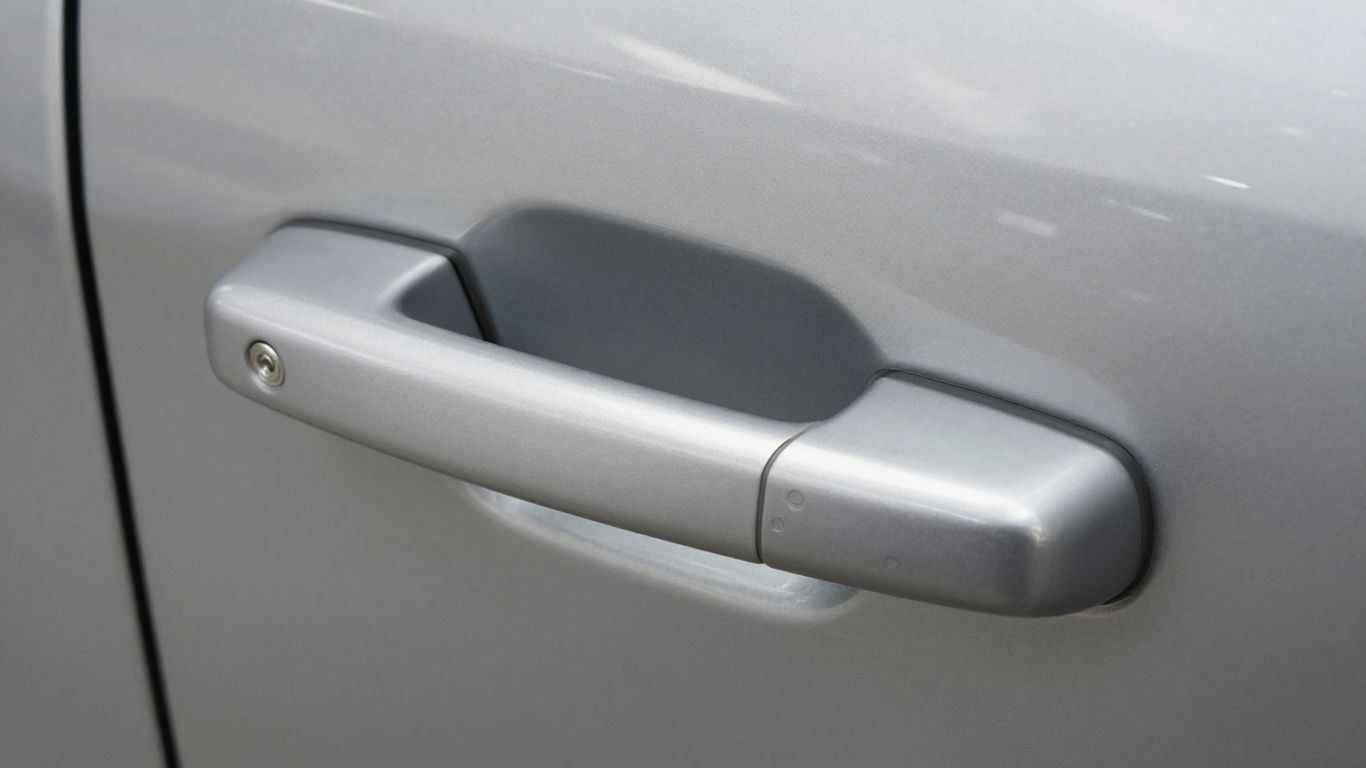
A retrofit guide for a later front assembly, for example, includes instructions for spacers, the grip, LED assembly, and rear seal. The Generation 2.1 retrofit guide also warns that removed plugs or tape must be restored because door integrity can affect pressure sensing and airbag deployment. That is a safety detail, not a cosmetic finishing step.
Identifying first-generation and later designs
Visual inspection can suggest which design is fitted, but hidden differences may matter more than the outside appearance. Look at the assembly, connector, mounting points, and internal components rather than relying on a seller’s short description. Photographs of the old part beside the proposed replacement are useful, but a part number or VIN check is stronger evidence.
Early assemblies are often discussed in connection with cast internal components and failures of the self-presenting mechanism. Later replacements may address those weak points, but the exact revision still needs confirmation before installation.
Comparing Gen 2 and Gen 3 replacement assemblies
A Gen 2 repair can sometimes retain the existing housing while replacing worn internal parts. One available Gen 2 repair kit is described as including a machined stainless-steel paddle gear, an e-clip, replacement microswitches, vapor-barrier retainers, and door-panel clips. Those contents make sense when the housing and major electrical components remain serviceable.
A complete later assembly is a different decision. It may be appropriate when the motor, harness, housing, grip, or mounting structure is damaged, but it still must match the vehicle and door. Do not assume that a newer generation automatically becomes a plug-and-play answer for every earlier car.
Checking compatibility by model year and VIN
Before buying a part, record the vehicle identification number, model year, door location, side, and the number or marking on the existing assembly. Ask the supplier to confirm the fitment in writing, especially when the listing uses broad language such as “Gen 2” or “Gen 3.”
A useful compatibility check compares the old and replacement connectors, mounting points, handle orientation, and included hardware. If any of those details are unclear, pause before removing trim or ordering a second-hand part.
Common Tesla Model S door handle problems
Door-handle faults rarely arrive with a neat diagnosis. The handle may fail to present, open only from inside, move slowly, or work again after several attempts. Recording exactly what happens at the first failure gives a technician more useful information than simply reporting that the door handle is broken.
A handle that does not present or retract
A flush handle that stays flush may have a power, signal, motor, gear, or mechanical binding problem. If the other doors respond normally, the fault is more likely local to that door than a vehicle-wide unlock issue. If several doors behave strangely, start with the shared power or access conditions before dismantling one assembly.
Do not repeatedly cycle a stuck handle. Repeated commands can increase wear in an already damaged gear or motor and may make an intermittent fault harder to reproduce.
A door that opens only from inside
This symptom narrows the search. The latch may still be capable of releasing, while the outside handle is failing to send the expected command or move far enough to operate the release. Inspecting the exterior mechanism and its electrical path is usually more productive than immediately replacing the latch.
The inside release should still be used carefully. If the door feels unusually stiff, catches, or does not close securely afterward, stop using it until the latch and alignment have been checked.
Noisy, slow, or intermittent handle operation
A grinding, clicking, or strained sound often suggests friction, a damaged gear, or a motor struggling under load. Slow presentation can also reflect low voltage or a poor connection. Intermittent operation is especially valuable diagnostically: note temperature, moisture, whether the vehicle was locked or unlocked, and whether the handle was recently used manually.
Keep a short record of the pattern. A table like this can help separate observations before parts are ordered:
| Symptom | Possible area | Useful next check |
|---|---|---|
| Silent, no movement | Power, wiring, switch, control input | Check the circuit and connector |
| Motor sound, no travel | Gear, pivot, linkage | Inspect for mechanical disconnect |
| Slow or strained travel | Friction, contamination, motor wear | Check movement and resistance |
| Works intermittently | Loose connection, microswitch, moisture | Reproduce and inspect conditions |
The table is a starting point, not a parts verdict. A single handle can have more than one fault, particularly after water entry or repeated attempts to operate it.
Key cards, phone keys, and frozen handles
An access problem should be separated from a mechanical problem. Try the normal access method again only after checking whether the vehicle is responding at all, and compare the affected door with another door. In freezing weather, ice can prevent presentation or add enough resistance to overload a small mechanism.
Never pry a frozen handle outward with a tool. Warm the area gradually, remove visible ice without scraping painted surfaces, and allow moisture to drain before testing the movement again.
How to diagnose a faulty door handle
Diagnosis should move from simple observations to component-level testing. Begin with the vehicle’s behavior, then inspect the door without forcing it, and only afterward remove trim or test individual components. This order reduces the risk of damaging clips, seals, connectors, or the vapor barrier while chasing the wrong fault.
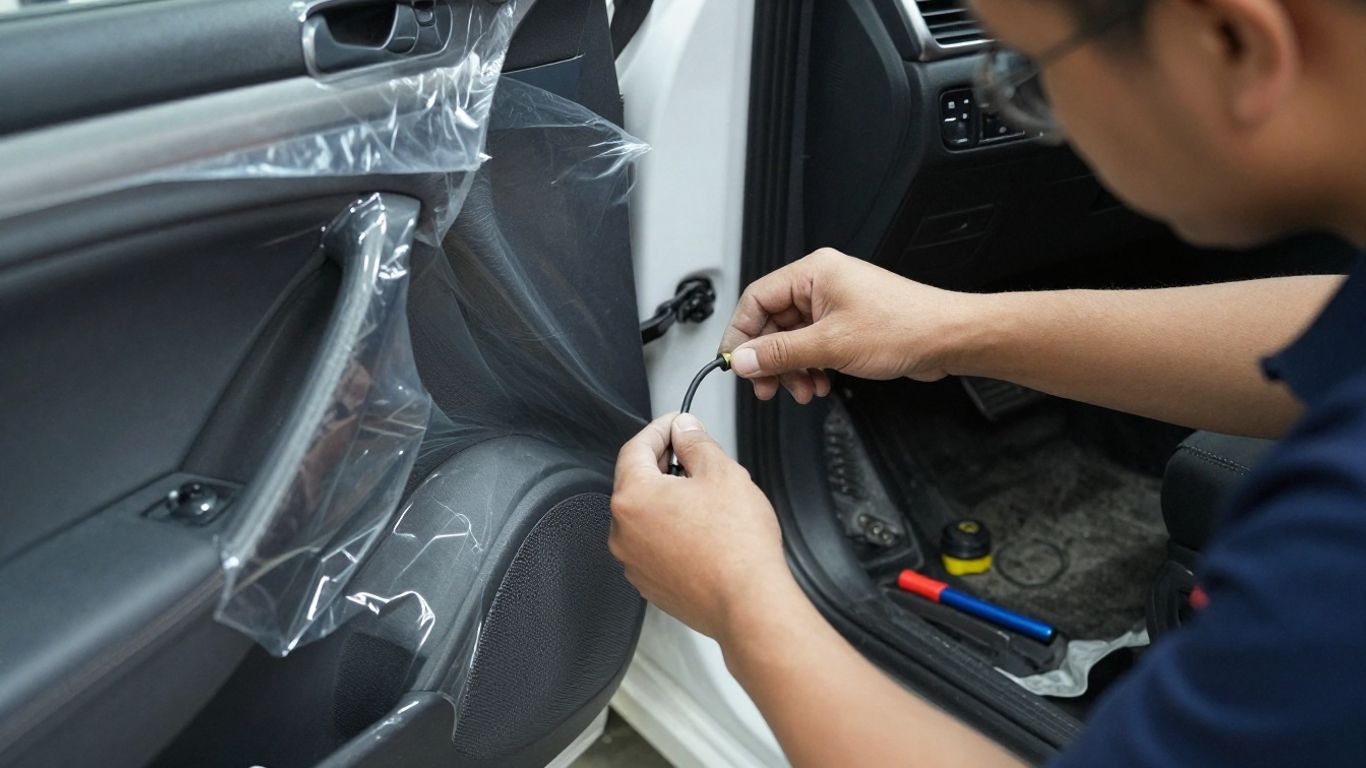
Service documentation for a Generation 3 front release includes removal, installation, plugs, tape, spacers, and fitment details. The Gen 3 exterior release procedure is a reminder that correct installation includes restoring protective pieces, not merely securing the visible grip.
Inspecting power, fuses, and wiring
Check whether the vehicle has power, whether other doors respond, and whether the affected handle changes behavior when the connector or door position changes. Inspect accessible wiring for pinching, broken insulation, corrosion, or a connector that is not fully seated. Fuse and low-voltage checks should follow the vehicle’s service information rather than guesswork.
Disconnecting a battery or connector can have consequences beyond the handle itself. If the required procedure is unclear, stop and use a qualified technician instead of probing live circuits or forcing a connector.
Testing the latch, microswitches, and sensors
Microswitches can affect whether the vehicle recognizes a handle request or a completed movement. A latch can also be mechanically sound while a switch or sensor reports the wrong state. Testing should use the correct meter, back-probing method, and specifications for the particular assembly.
A failed switch does not necessarily justify replacing the entire exterior release. Conversely, replacing a switch will not fix a cracked housing, damaged gear, or seized motor. The test result needs to match the proposed repair.
Using vehicle alerts and diagnostic information
Record any warning, unusual lock behavior, or change in operation before clearing anything. Diagnostic information may help identify an electrical or position-related fault, but a generic alert is not always a precise component diagnosis. A technician may need to combine stored information with physical inspection and live testing.
When seeking help, provide the door and side, the generation if known, the exact symptom, and whether the manual release works. The Model S handle repair service is one example of a specialist route when the fault involves both electric-vehicle systems and mechanical trim work.
Separating a handle fault from a door latch problem
Test the two functions independently where safe. If the latch releases from inside but the exterior handle does not present or actuate, focus first on the exterior release system. If neither route opens the door correctly, the latch, linkage, alignment, or a broader mechanical obstruction deserves more attention.
After any repair, verify that the door closes, latches, unlocks, and opens normally. A handle that looks aligned but leaves the door insecure is not a successful repair.
Repairing or replacing Tesla Model S door handles
The right repair depends on what failed, what remains usable, and how confidently the fault has been isolated. A small internal repair can be economical, while a complete assembly is more sensible when multiple components are worn or damaged. Either way, the work involves trim, seals, wiring, and alignment—not just the painted handle visible from outside.
When a repair kit may be enough
A repair kit may suit a worn internal gear, retaining clip, microswitch, or damaged panel clips when the main housing and motor are still sound. It can also preserve a correctly matched assembly rather than introducing a replacement with uncertain fitment. The kit’s included parts should be compared with the diagnosis before disassembly begins.
A kit is not a universal cure. If the housing is cracked or water damage has spread through the harness and motor, replacing only one internal part may provide a short-lived result.
When the complete exterior release assembly is needed
Use a complete assembly when the motor, housing, grip, harness, mounting points, or several internal parts are compromised. This may also be the safer route when a previous repair has distorted the mechanism or when the original unit cannot be identified reliably.
Confirm what the assembly includes. Some listings supply only the mechanism, while others include the grip, lighting, seals, or hardware. The difference affects both the installation plan and the final fit.
Removing interior trim without damaging clips
Interior panels should be removed with the correct tools and in the correct order. Protect painted edges, support the panel as it comes free, and disconnect electrical connectors without pulling on their wires. Keep every clip and fastener organized because a missing retainer can create rattles, water paths, or poor panel alignment.
The vapor barrier deserves particular care. If it is torn or not resealed, moisture can reach areas that were previously protected. A careful removal often takes longer than expected, but it is cheaper than repairing damage caused by rushing.
Aligning and testing the replacement handle
Before fully tightening the assembly, check that it sits flush, presents evenly, and retracts without scraping. Confirm the connector is secure and that seals, plugs, tape, and spacers are restored as required. A front-door retrofit procedure may call for specific spacers and replacement sealing pieces, so follow the instructions for that exact revision.
Test locking, unlocking, presentation, retraction, exterior opening, interior opening, and secure latching several times. The left-front handle installation guide is useful context for the level of detail involved, but the vehicle-specific service procedure should take priority.
Retrofit and replacement considerations
Retrofitting can improve serviceability, but it is not simply a matter of fitting the newest-looking part. Hardware, connectors, software routines, seals, and door-side differences can all matter. A replacement should be selected as a complete system rather than by appearance alone.
Choosing the correct front or rear assembly
Start with the door position and then confirm the generation and connector. Front and rear assemblies may have different mounting details and service procedures. A rear-door replacement guide, such as the rear left door procedure, also shows why battery isolation, correction codes, and updated service steps should not be guessed.
Do not transfer assumptions from a front-door repair to a rear door. Even when the exterior grip looks similar, the internal release path and access sequence may differ.
Evaluating used, remanufactured, and new parts
A used part can be less expensive, but its remaining gear, motor, microswitches, and seals may be unknown. A remanufactured unit should come with a clear description of what was replaced and how it was tested. A new assembly generally offers the clearest condition, but it still requires exact fitment confirmation.
Ask about return terms, warranty coverage, included hardware, and whether the part is complete. The cheapest listing is rarely the cheapest option if it arrives incomplete or fails after the door has already been dismantled.
Confirming left-hand or right-hand door fitment
Side-specific fitment affects the shape, mounting orientation, cable or harness routing, and the relationship between the handle and latch. Confirm left-hand or right-hand status using the vehicle’s seating position and the supplier’s terminology, since listings can describe sides differently.
Photographs should show the connector and rear of the assembly, not only the exterior grip. Those details often reveal a mismatch before money and labor are committed.
Understanding software and calibration requirements
Some replacements may require a service routine, relearn, or calibration after installation. The exact requirement depends on the assembly and vehicle configuration, so do not assume that a mechanically correct installation is automatically electronically complete. Ask the service provider what calibration is included before approving the work.
A repair that needs a specialized routine should be planned around access to the appropriate diagnostic equipment. That is one reason a professional repair can be safer than improvising after the door is already apart.
Preventing future door handle failures
Prevention is mostly about reducing unnecessary load and responding early to small changes. A handle that becomes noisy or slow deserves attention before it stops working entirely. Regular observation is more useful than aggressive cleaning or repeated force.
Cleaning and lubricating moving components safely
Use a soft cloth to remove dirt from the visible handle and surrounding recess. Only use a lubricant if it is approved for the specific moving component and will not attack seals, plastics, paint, or electrical parts. Spraying blindly into the handle can move contamination deeper into the mechanism.
If movement remains stiff after careful cleaning, treat that as a diagnostic clue rather than adding more product. Friction may be coming from a damaged part that needs inspection.
Protecting handles from ice, dirt, and moisture
Remove packed dirt before it hardens around the moving surfaces. In cold weather, thaw ice gradually and avoid hot water that may refreeze or affect surrounding materials. After washing, allow the recess and seals to dry rather than repeatedly cycling the handle while water remains present.
Moisture protection also depends on intact plugs, tape, seals, and vapor-barrier material. Those pieces should be restored whenever the door is serviced.
Avoiding excessive force during manual release
Manual release mechanisms are designed for access when powered operation is unavailable, not for levering against a frozen or obstructed door. Use controlled pressure and stop if the door does not respond normally. Forcing a handle can damage the grip, linkage, seal, or surrounding trim.
A sensible response to a stuck door is to remove the cause of resistance or request assistance. It is rarely to pull harder and hope the mechanism gives way.
Knowing when professional service is the safer option
Professional help is appropriate when the fault involves airbag-related door integrity, battery isolation, damaged wiring, uncertain calibration, or a latch that will not secure. It is also sensible when the correct generation or replacement assembly cannot be confirmed. The work may look small from outside, but access and safety details are not trivial.
For background on electric-vehicle ownership, unrelated search results such as an electric vehicle incentive, Nirvana by the Sea, or last-minute hotel deals should not be treated as door-handle service guidance. Similarly, Saakshi’s Kitchen and meal delivery answers concern food ordering, not vehicle repair; keeping such links separate from a repair decision is part of careful research.
Conclusion
Tesla Model S door handles are easiest to repair when their electrical, mechanical, and latch functions are diagnosed separately. Confirm the generation and door fitment, protect the seals and wiring during disassembly, and test every access route before returning the vehicle to use. Early attention to slow or noisy movement can often prevent a more disruptive failure.
Frequently Asked Questions
Why do electric door handles stop working?
Common possibilities include a failed motor, worn gear, faulty switch, damaged wiring, contamination, ice, or a problem in the latch or control circuit. The exact cause requires observing the symptom and testing the relevant parts.
Can a handle that works intermittently be ignored?
Intermittent operation usually deserves attention because it may become a complete failure without warning. Record when it happens and whether temperature, moisture, or repeated use changes the symptom.
Is a repair kit better than replacing the whole assembly?
A repair kit can be suitable when the fault is limited to serviceable internal parts and the housing remains sound. A complete assembly is more appropriate when several components, the housing, or the wiring are damaged.
How can I tell whether the latch or handle is faulty?
Compare the exterior and interior release paths. If the door opens normally from inside but the exterior control does not operate, the exterior mechanism or its circuit deserves closer inspection.
Are front and rear handles interchangeable?
They should not be assumed to be interchangeable. Door position, side, generation, connector, mounting points, and internal release arrangements must all be confirmed.
What should I do if a handle is frozen?
Thaw it gradually, remove ice gently, and avoid prying or forcing the mechanism. If it remains stiff after thawing, have it inspected rather than repeatedly cycling it.
When should a technician handle the repair?
Use professional service when wiring, battery isolation, airbag-related door integrity, calibration, or latch security is involved, or whenever the correct part and procedure cannot be confirmed.