
Key Takeaways
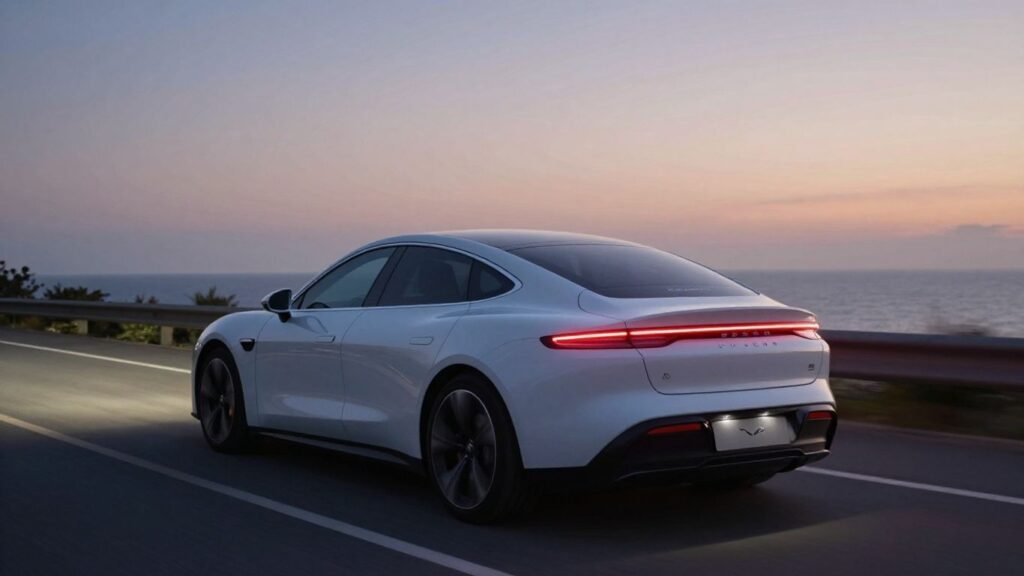
Upgrading your vehicle lighting can significantly improve both the safety and aesthetic appeal of your car. By understanding the specific requirements for your model year, you can choose components that enhance your daily driving experience.
- Ensure compatibility by matching light versions to the specific build year of your vehicle.
- Consider both the visual style and functional safety benefits when selecting aftermarket upgrades.
- Proper wiring integration is essential to avoid software errors and maintain standard system functionality.
- Aesthetic choices range from smoked finishes to dynamic light bars that offer a modern, unique signature.
- Professional installation or careful adherence to guides protects the vehicle’s structural and electrical integrity.
Understanding Tesla Model 3 tail light generations
The evolution from 2017 to current light designs
The internal lighting architecture has undergone several revisions since the platform debuted. Early iterations prioritized a traditional design, while later versions introduced refined LED structures that improve both brightness and signal clarity for those behind you.
Identifying your specific build month and year
Checking the build date on your door pillar is the first step when researching upgrades. This ensures that the connectors on any new housing perfectly match the hardware embedded in your specific wiring harness.
Differences between North American and international light assemblies
Regulatory standards in Europe and Asia often mandate different turn signal behavior and reverse light placements. Understanding these regional variations is vital if you are importing parts or seeking custom assemblies that differ from the factory North American layout.
Reasons to upgrade your Model 3 tail lights
Aesthetic personalization and unique light signatures
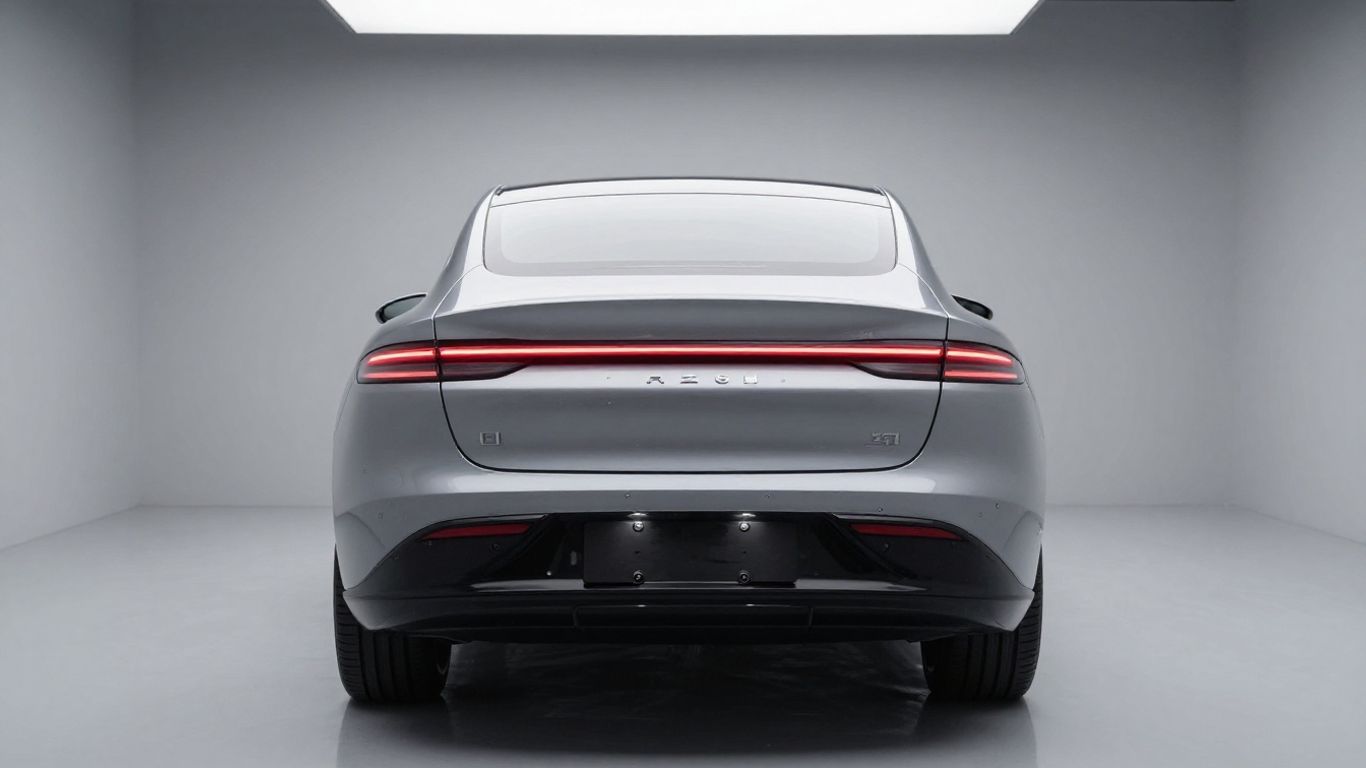
Many owners look to differentiate their vehicle from the thousands of others on the road by incorporating a distinct rear profile. Utilizing Alpharex PRO-Series LED Tail Lights allows for a cleaner, more aggressive look that stands out in a crowded parking lot.
Improving signal visibility and night-time brightness
The most important upgrade reason is the real-world impact on safety through better light output. Upgraded signal arrays ensure that your intentions are clearly communicated to surrounding drivers, providing an extra measure of security in low-visibility conditions.
Durability benefits of premium aftermarket housings
Lower-quality factory parts can sometimes face fading or moisture fatigue over long periods of extreme temperature cycles. High-end aftermarket housings generally feature advanced polycarbonate materials designed to withstand harsh outdoor elements, making them a wise investment for long-term ownership.
Popular aftermarket styles and custom aesthetic options
Sequential turn signals and dynamic light animation kits
Dynamic lights provide a sophisticated movement effect during signaling, which creates a fluid look compared to the traditional blinker behavior. Many enthusiasts opt for Venom Style Tail Lights to integrate these modern animation sequences directly into the rear light structure.
Smoked lens covers versus high-transparency crystal options
The choice between smoked and transparent lenses defines the mood of the rear end appearance. While smoked lenses create a moody, stealthy aesthetic, crystal options provide maximum luminosity for those who prioritize pure brightness and crisp contours during daylight hours.
LED fiber-optic bar configurations inspired by futuristic designs
Modern lighting technology allows for elegant fiber-optic ribbons that trace the entire perimeter of the assembly. These designs often mimic the look of luxury concept cars, providing a visual depth that simple bulbs cannot replicate. When considering these upgrades, you might find that using Innovative Plastics seals during custom wiring helps prevent moisture intrusion in the connection zones.
| Style Feature | Standard Housing | Premium Aftermarket |
|---|---|---|
| LED Technique | Traditional Array | Fiber-Optic Bar |
| Signal Action | Blinking | Sequential |
| Lens Finish | Clear | Smoked/Tinted |
The table above demonstrates the functional differences between typical factory units and custom kits, showcasing how specific features directly transform the rear light appearance.
Technical considerations for wiring and compatibility
Understanding CAN bus integration and software error warnings
Integrating complex components requires a seamless connection to the vehicle’s electrical system to avoid triggering diagnostic trouble codes. Reliable AlphaRex hardware is often engineered with specific resistances to ensure the vehicle software remains stable without recognizing an unauthorized lighting change.
Potential impacts on factory vehicle warranty coverage
Modifying sensitive electrical systems can sometimes lead to disputes if an issue arises later elsewhere in the harness. Ensure that the kit you choose is advertised as plug-and-play, avoiding any permanent splicing that could invalidate your manufacturer protection.
Ensuring hardware compatibility with your specific wiring harness
Always verify that the harness included with your kit matches the socket configuration present in your specific vehicle. Some users might benefit from reading a Real Estate CRM IDX guide to business standards if they manage their own custom shop logistics, simply as a way to maintain organized project records and vendor tracking. If you are handling sensitive medical or performance data, consider that LabTestsOnDemand offers a professional way to manage health diagnostics, much like choosing a professional for complex car mods.
Step-by-step installation guide for DIY owners
Essential tools and workspace safety precautions
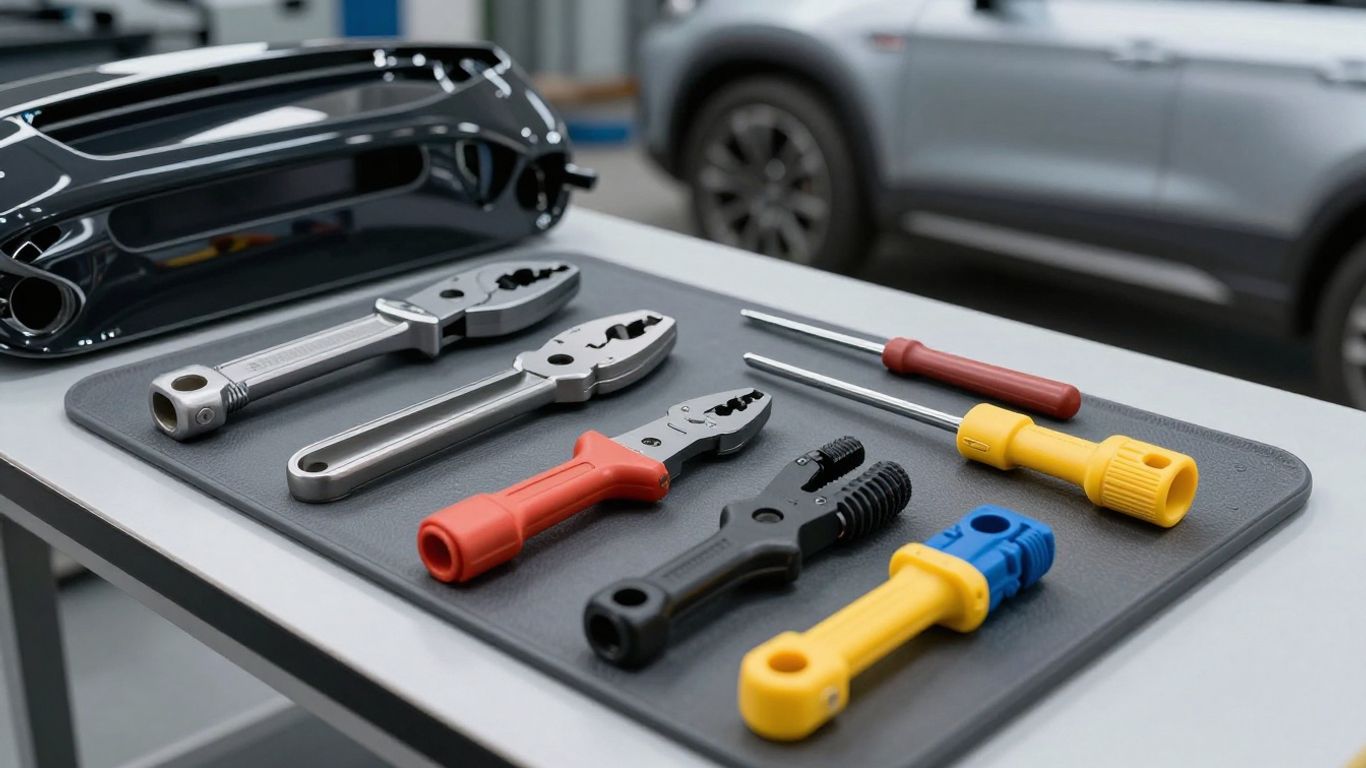
Gathering the right equipment ensures that the labor goes smoothly and without causing damage to the vehicle panels. You will need a set of pry tools, a socket wrench set, and occasionally a small mirror to locate hidden clips.
- Use a non-marring panel tool for safe removal.
- Apply a protective tape around the edges of the paint.
- Verify all light functions before closing the trunk.
- Disconnect the negative battery terminal for electrical safety.
Following these steps provides peace of mind that you have handled the task correctly and safely. Many local businesses, such as Lavender Laundry, prioritize similar workflows to maintain high efficiency and quality of service.
Removing internal trim panels and original light housing assemblies
The removal process involves popping off the plastic interior trunk lid covers to expose the mounting hardware. Once these are loosened, the assembly usually slides out in one piece, allowing you to disconnect the factory plug.
Connecting the aftermarket wiring harness and testing functionality
Most modern kits are direct-fit, meaning you simply click the new plug into the existing port. Once secured, walk around the car and cycle through the parking lights, brake pedals, and hazard signals before putting the trim panels back into place.
Troubleshooting common Tesla tail light issues
Addressing condensation and moisture buildup inside the lens
If you see a light internal misting, it may be due to high humidity trapped during installation. This often resolves itself when the heat from the bulbs evaporates the moisture through the vents, but persistent pooling requires checking the rear housing gaskets.
Resolving flickering symptoms or hyper-flashing LED patterns
Flickering usually indicates a loose connection or an incorrect power draw by the new unit. Ensure the harness is snapped firmly into the factory socket and that no pins were bent during the initial connection.
Validating lighting hardware functionality after system updates
Occasionally, a software system update might recalibrate how the car interacts with peripheral lights. If your Tesla model 3 tail lights seem dim or unresponsive after an update, perform a simple system reboot to ensure the computer updates the light management protocols.
Conclusion
Upgrading your rear lighting is an accessible way to customize your vehicle while providing genuine performance benefits like better visibility and modern, stylish light signatures. By selecting high-quality kits and approaching the installation with fundamental mechanical caution, you can enjoy a fresh, personalized look that elevates your daily commute.
Frequently Asked Questions
Do I need special software to install aftermarket tail lights?
Most current kits are designed as plug-and-play, meaning they bypass the need for external software or configuration changes entirely.
Can moisture inside the light lens cause electrical shorts?
Persistent moisture can lead to corrosion on the contact pins over time, so it is best to reseal or replace any unit that repeatedly holds water.
Are smoked lenses legal for street driving?
Regulations regarding lens tinting vary by region, so it is advised to check your local vehicle safety codes before installing darker lens options.
Do these upgrades affect the brightness of my reverse lights?
Many aftermarket kits actually feature high-output white LEDs for the reverse light section, which typically provides much better rear visibility than the factory modules.
How long does a typical DIY installation take?
For an owner with basic tools, the full process of removing old housings and installing new ones usually takes no more than sixty to ninety minutes.
Can I reinstall the original lights later?
Because these kits are usually non-destructive, you can hold onto your original light houses and swap them back at any time if you decide to revert your look.
Should I check the fuse box after installing a new light set?
While it is rarely necessary, checking the fuse box is a proactive habit if you accidentally cause a spark or short during the wiring process.