
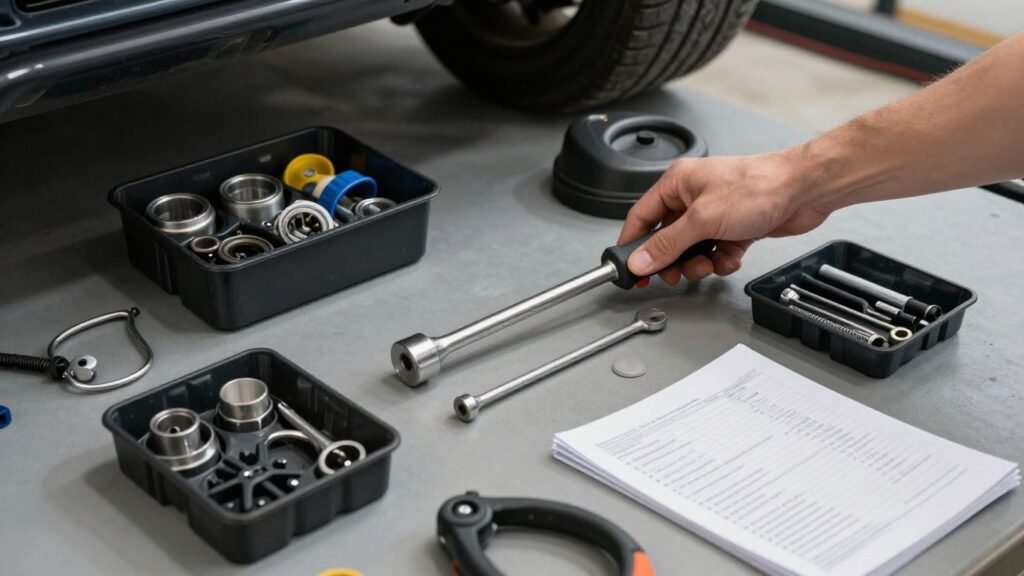
Key Takeaways
DIY work on an electric vehicle rewards patience more than improvisation. The right part, documentation, and stopping point matter as much as the repair itself.
- Limit home repairs to tasks you can perform safely and verify afterward.
- Match every component to the vehicle’s exact configuration and VIN where possible.
- Treat high-voltage systems, airbags, and uncertain electrical faults as professional work.
- Price the full job, including tools, shipping, calibration, and possible rework.
- Keep photographs, invoices, torque notes, and test results with the vehicle records.
Understand which Tesla repairs are suitable for DIY work
A small repair can become complicated when trim variations, sensors, software, or high-voltage equipment are involved. Before buying tesla parts for diy repairs, define the job clearly and decide whether the risk fits your tools and experience. A careful owner knows when a repair is manageable and when stopping is the safer choice.
Separate routine maintenance from safety-critical repairs
Routine maintenance usually has a clear procedure, limited electrical exposure, and an easy way to confirm the result. Wiper blades, cabin filters, clips, and some cosmetic pieces are different from work involving braking hydraulics, steering, restraint systems, or battery enclosures. If a mistake could affect control of the vehicle or occupant protection, professional assistance is the sensible baseline.
Make a short job description before ordering anything. “Replace a damaged underbody panel” is more useful than “fix the front end,” because it encourages you to identify fasteners, lifting needs, and adjacent components before work begins.
Identify components that require high-voltage training
The traction battery, orange high-voltage cables, drive unit, charging system, and some climate-control components deserve special caution. Do not remove covers or connectors merely because the vehicle appears switched off; stored energy and automatic system behavior remain concerns. A low-voltage fault can also be difficult to separate from a high-voltage fault without proper diagnostic knowledge.
Owner-level confidence is not a substitute for electrical isolation training. When the procedure calls for high-voltage PPE, measured absence of voltage, or specialized isolation steps, hand the job to a qualified technician.
Check local regulations and Tesla service requirements
Repair rules, inspection requirements, and warranty terms vary by location and by the nature of the work. Read the relevant service documentation and retain receipts before changing a component. A useful overview of direct parts access is available in this Tesla parts access guide, but treat any general article as a starting point rather than a replacement for current local requirements.
Ask whether the finished repair needs calibration, a software procedure, or an inspection. A part that physically fits may still leave the vehicle unsuitable for road use until those steps are complete.
Prepare a safe workspace before removing any parts
Choose a dry, well-lit, level area with room to open doors and move around the vehicle. Keep loose metal objects away from electrical work, use appropriate eye protection, and make sure another person knows what job you are attempting. Photograph the vehicle before disassembly so you have a reference for panel gaps, wiring routes, and fastener locations.
Never rely on a jack alone for an elevated vehicle. Confirm the correct lifting points, use rated stands where the procedure permits them, and keep the key or phone away from the vehicle when the instructions call for it.
Find reliable Tesla parts for DIY repairs
Sourcing is not simply a matter of finding the lowest listed price. The seller needs to identify the component accurately, describe its condition, and stand behind the transaction if it arrives damaged or incompatible. Official channels may be the clearest starting point, while used or aftermarket components can make sense only when their history and specifications are documented.
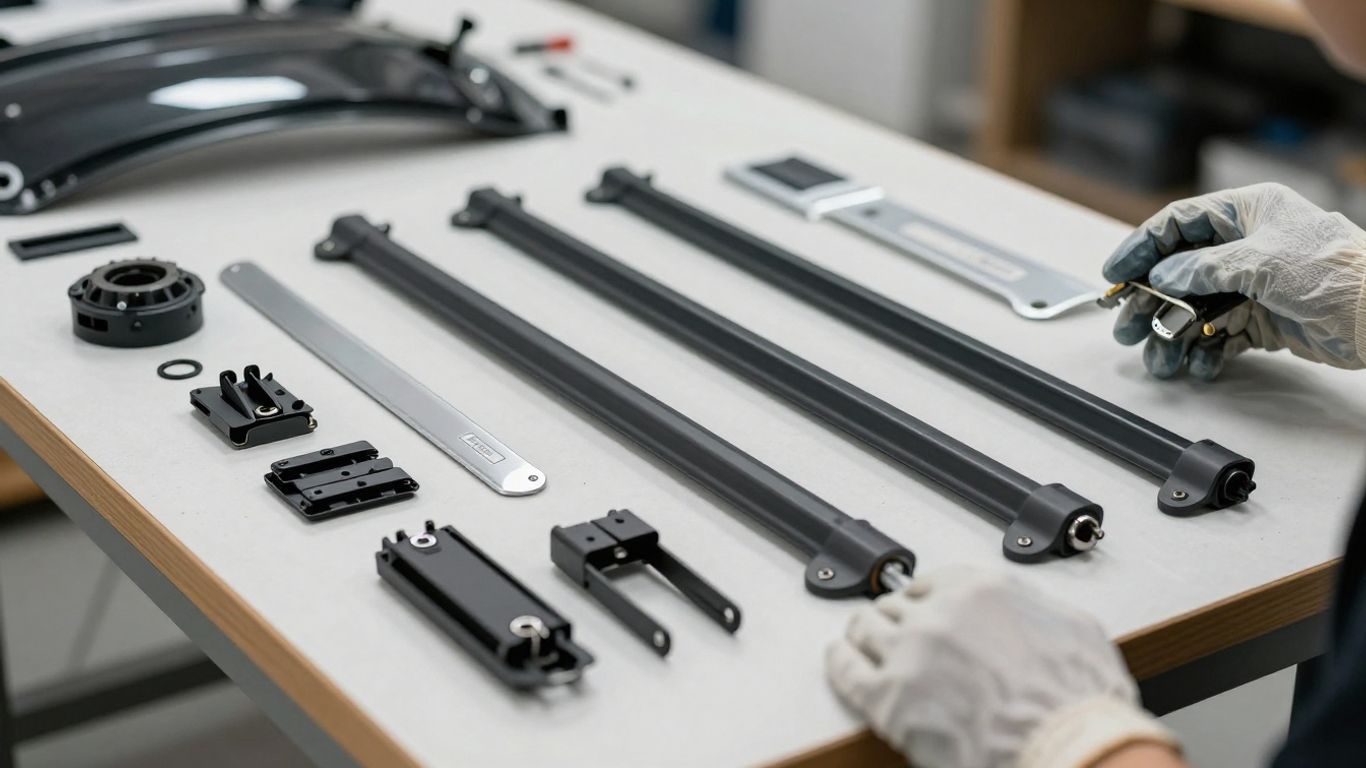
Compare Tesla’s official parts and service channels
Tesla’s official parts and service channels can be useful for confirming availability, documentation, and the intended repair route. A current Tesla self-repair program overview discusses direct access to items such as brake discs and calipers and the availability of interactive repair instructions for the Cybertruck. Availability can change, so confirm the listing and procedure for your vehicle before committing to the job.
The official route is also a useful benchmark. Even when you choose another source, compare the supplied part number, condition, shipping time, and required follow-up work against the official option.
Evaluate OEM, aftermarket, refurbished, and used components
OEM parts are designed for the vehicle, but the label alone does not prove that a listing is genuine. Aftermarket components vary widely in materials and fit. Refurbished and used parts may be practical for non-safety-critical repairs when the seller provides identification, condition details, and a credible return process.
For a broader shopping checklist, these EV repair kits and tools can help you think about equipment alongside the component itself. Do not let a bundled kit persuade you to attempt a repair that exceeds your training.
Verify seller reputation, return policies, and part authenticity
Read several recent reviews, not just the headline rating. Check whether the seller supplies a manufacturer number, photos of the actual item, connector details, and a clear statement about returns after installation. Before paying, ask who covers return shipping and what happens if the package arrives with hidden damage.
Keep the invoice and the original packaging. If the part is wrong, those records make a return much easier and preserve a useful paper trail for future owners or technicians.
Avoid counterfeit or poorly documented replacement parts
A suspiciously cheap component, stock photography, vague compatibility language, or missing provenance should slow the purchase. Safety-related parts deserve especially strict scrutiny because visual similarity does not establish correct material, tolerances, or sensor behavior.
When documentation is thin, buy from a source that can answer specific questions or choose a better-documented component. A few dollars saved at checkout can disappear after a failed installation, repeated shipping, or damage to neighboring parts.
Confirm compatibility before ordering
Vehicle identity is more detailed than model name alone. Production changes, regional equipment, battery configuration, and software dependencies can alter the correct component. The safest ordering habit is to gather identifiers first, then compare them across the catalog, repair instructions, and the part itself.
Match the part to the exact Tesla model and production year
Start with the model, body style, production period, and the location of the repair. A part listed for the same broad model may differ across early and later production. Compare the shape, mounting points, finish, and included hardware with the item being removed.
Do not assume that a newer revision is automatically interchangeable. Ask the seller or service source to confirm supersession and whether additional hardware or programming is required.
Check trim, battery pack, drivetrain, and regional differences
Trim and drivetrain can affect suspension, brakes, cooling, wiring, and underbody components. Battery pack changes may affect shields, connectors, and service procedures. Regional lighting, charging, and compliance equipment can also create differences that are invisible in a generic product title.
Write down the vehicle configuration before searching. This prevents a familiar-looking photograph from carrying more weight than the actual fitment data.
Use VIN-based catalogs and manufacturer part numbers
A VIN-based catalog is usually the strongest first check because it ties the search to a particular vehicle. Manufacturer part numbers provide a second check and make it easier to compare official and independent listings. Record the full suffix, since a small letter or revision marker may distinguish related components.
If the catalog and listing disagree, pause rather than guessing. Send the seller the VIN-related fitment information and request written confirmation before ordering.
Confirm software, connector, and sensor compatibility
Modern replacement parts may need more than physical installation. Sensors can require calibration, modules can require configuration, and connectors can look similar while carrying different circuits. Check whether the repair instructions mention resets, relearning, firmware, or post-installation tests.
The same caution applies to charging equipment. A connector that seats correctly is not proof that the component is electrically or software compatible.
Gather the tools and information needed for the job
Good preparation reduces both damage and frustration. Assemble the documentation, tools, replacement fasteners, protective materials, and diagnostic plan before taking the vehicle apart. A repair should have a defined start, a controlled stopping point, and a way to verify success.
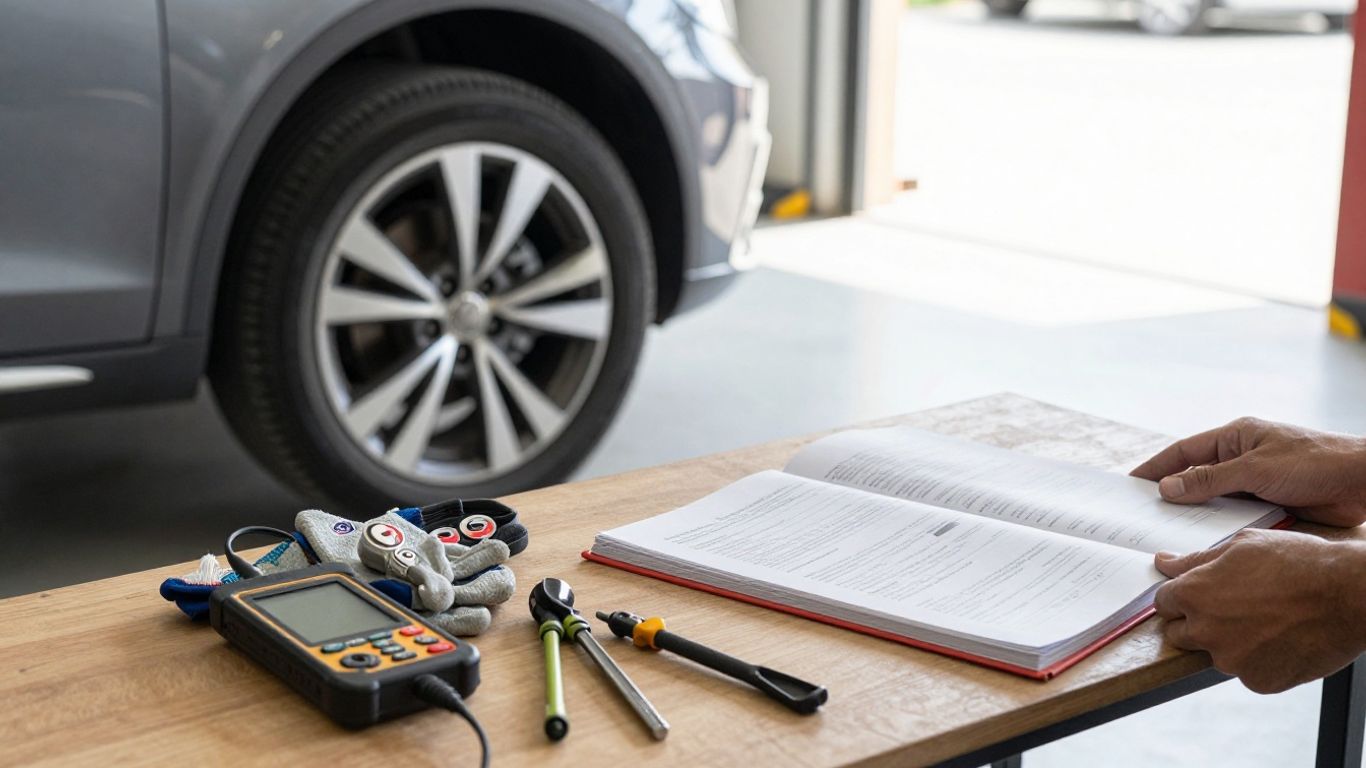
Use Tesla service manuals and repair documentation
Read the complete procedure before touching the vehicle, including warnings, prerequisite operations, fastener notes, and post-repair checks. Service documentation often reveals hidden clips, one-time-use hardware, lifting constraints, or a required sequence that a short video omits.
Save the relevant pages offline if possible. If instructions differ between revisions, use the version that matches the vehicle and record the document date in your repair notes.
Select hand tools, trim tools, and torque equipment
Use the correct sockets, bits, non-marring trim tools, gloves, lighting, and containers for removed hardware. A calibrated torque wrench matters wherever the procedure specifies torque, especially around wheels, suspension, brakes, and structural fasteners. Avoid substituting an adjustable wrench or impact tool when it could round a fastener or overtighten it.
A compact tool plan is easier to manage than a pile of equipment. Lay out only what the procedure calls for, then add tools as the documentation identifies a genuine need.
Prepare diagnostic tools for error codes and system resets
Decide how you will check for warnings before and after the repair. Some jobs need only a visual and functional check; others may require a compatible diagnostic tool, a reset, or a calibration procedure. Do not clear codes simply to make a warning disappear before understanding its cause.
A video can clarify the order of physical steps, but it should supplement—not replace—the vehicle-specific written procedure. Pause when the video’s model year, trim, or hardware differs from yours.
Follow lifting, jack-point, and electrical isolation procedures
Use the specified jack points and rated equipment, and place protective adapters where required. For low-voltage work, follow the documented shutdown and isolation sequence. For high-voltage work, stop unless you have the training, equipment, and authorization required by the procedure.
Keep the work area free of children, pets, and unrelated tools. A calm setup is part of the repair, not an optional extra.
Plan common Tesla DIY repairs step by step
The best DIY projects are bounded: you know what is being replaced, what can go wrong, and how the finished job will be checked. Cosmetic and routine maintenance work generally offers a clearer path than electronic or high-voltage repairs. Use a written sequence, and do not let an easy first step commit you to an unsafe second one.
Replace exterior panels, clips, and cosmetic components
Begin by comparing the replacement panel with the original before removing anything. Protect painted surfaces, label clips, and loosen fasteners in a deliberate order so panel gaps can be restored. Replace damaged retainers rather than forcing old clips back into place.
After installation, inspect gaps, seals, lamps, cameras, and nearby sensors. A panel can look aligned while still pinching wiring or interfering with a moving part.
Handle cabin filters, wipers, lights, and other maintenance items
These jobs are often approachable because the components are accessible and the procedure is easy to test. Still, use the correct filter orientation, protect trim, and avoid pulling on wiring when a connector has a release tab. Check that a new light, wiper, or filter performs normally before closing the job.
A Tesla charging cost guide is also useful when planning ownership expenses around routine work, even though energy costs are separate from parts sourcing. Keeping those budgets distinct gives you a more honest view of maintenance spending.
Diagnose suspension, brake, and wheel-related issues
Do not diagnose by noise alone. Inspect tire condition, wheel torque, visible leaks, bushings, fasteners, and brake wear, then compare the findings with the service procedure. Brake and suspension work affects vehicle control, so use proper support, torque values, and a controlled low-speed check afterward.
If the cause remains uncertain, replace nothing merely to see whether the symptom changes. A professional inspection may cost less than damaging a second component or driving with an unresolved safety fault.
Approach charging hardware and low-voltage electrical repairs carefully
Charging hardware combines electrical safety with compatibility concerns. Low-voltage work still requires correct fuse ratings, connector handling, and a clear understanding of the circuit. Do not bypass a protective device or modify wiring based only on a photograph from another vehicle.
Disconnect and isolate only as the documentation directs. If there is heat damage, a burned connector, exposed conductor, or repeated charging fault, stop and arrange qualified diagnosis.
Document removed parts, wiring, and torque specifications
Take a photograph before each major disconnection and place fasteners in labeled containers. Record connector orientation, cable routing, torque values, and any warning messages. This simple record helps during reassembly and gives a technician useful information if the job must be handed over.
For broader cost planning, a guide to affordable Tesla repairs can provide an additional comparison point. Use general price discussions as estimates, not promises, because labor, location, vehicle condition, and parts availability vary.
Control repair costs and protect the vehicle
A low part price does not equal a low repair cost. DIY work can save labor on a suitable task, but tools, shipping, damaged fasteners, calibration, and lost time belong in the calculation. The goal is a safe, documented repair—not simply the smallest checkout total.
Compare DIY expenses with Tesla service center pricing
Request or estimate the professional alternative before buying parts. Compare the complete quote with the DIY total, including equipment you will use once and any follow-up inspection. A repair cost comparison guide may help frame the options, but it cannot replace a vehicle-specific estimate.
The comparison should also include convenience and risk. A professional job may offer access to diagnostic equipment or calibration that would otherwise require another appointment.
Calculate shipping, tools, calibration, and unexpected costs
Build a simple estimate before ordering. Include the part, tax, shipping, consumables, replacement clips, tool rental or purchase, and a reserve for one unexpected complication. This is where the full repair cost becomes clearer than the advertised component price.
| Cost item | Question to ask | Why it matters |
|---|---|---|
| Part and hardware | Is everything included? | Missing clips or bolts can delay reassembly. |
| Tools and protection | Do I already own the correct equipment? | A one-time job can become expensive quickly. |
| Calibration or reset | Is a post-installation procedure required? | Physical fit may not complete the repair. |
| Shipping and returns | What if the part is damaged or wrong? | Return freight can erase a small saving. |
After adding these items, compare the result with a professional quote and decide with the uncertainty included. If the reserve makes the DIY route unattractive, that is useful information, not a failed plan.
Understand warranty effects and repair documentation
Read the applicable warranty terms before modifying a system. Keep invoices, photographs, part numbers, service instructions, and test results together, especially for work near electrical, braking, restraint, or charging systems. Documentation does not guarantee coverage, but it makes the repair history clearer.
Avoid claiming that a warranty is automatically preserved or automatically voided. The effect depends on the failure, the terms, the repair quality, and the jurisdiction.
Test the vehicle safely after completing the repair
Recheck every connector, fastener, trim piece, fluid-related item, and tool location before powering up. Inspect for warning messages, unusual sounds, leaks, rubbing, loose panels, and incorrect operation. Begin with a stationary check, then use a quiet, low-speed route before returning to normal driving.
If a warning persists, a system behaves unexpectedly, or the original symptom remains, stop testing and seek diagnosis. A completed installation is only successful when the vehicle is safe and the repair’s function has been verified.
Conclusion
The practical path to DIY repair is deliberate: identify the job, source a documented component, confirm compatibility, follow the procedure, and verify the result. Small maintenance and cosmetic tasks can be satisfying, while high-voltage and safety-critical work deserve trained help. Good records and realistic cost estimates protect both the vehicle and the owner’s budget.
Frequently Asked Questions
Which Tesla repairs are usually suitable for DIY work?
Routine items such as wipers, cabin filters, clips, and some cosmetic components are often more approachable than work involving high-voltage systems, airbags, steering, or braking. Suitability depends on the exact procedure, tools, and experience.
How can I confirm that a replacement part fits?
Use the vehicle identification number when available, then compare the manufacturer part number, production period, trim, drivetrain, connector, and required software or calibration steps. Ask the seller for written confirmation when details conflict.
Are used parts safe to install?
Used parts can be reasonable for some non-safety-critical repairs when their identity, condition, and history are documented. Exercise much greater caution with brakes, restraint components, steering parts, battery components, and electronic modules.
What should I do before lifting the vehicle?
Work on a level surface, identify the specified lifting points, use rated equipment, and never rely on a jack alone for support. Remove loose items from the work area and follow the vehicle-specific lifting procedure.
Do DIY repairs affect a vehicle warranty?
The effect depends on the warranty terms, the repair, the cause of a later failure, and local law. Keep complete records and avoid assuming either automatic warranty loss or automatic protection.
Is a diagnostic tool always required after a repair?
No. Some maintenance jobs can be checked through normal operation, while others need fault-code review, a reset, relearning, or calibration. The repair documentation should identify the required post-repair checks.
When should I stop a DIY repair?
Stop when the procedure involves unfamiliar high-voltage work, damaged wiring, uncertain safety symptoms, missing documentation, unexpected warning messages, or a need for equipment you do not have. Professional diagnosis is safer than continuing by guesswork.