
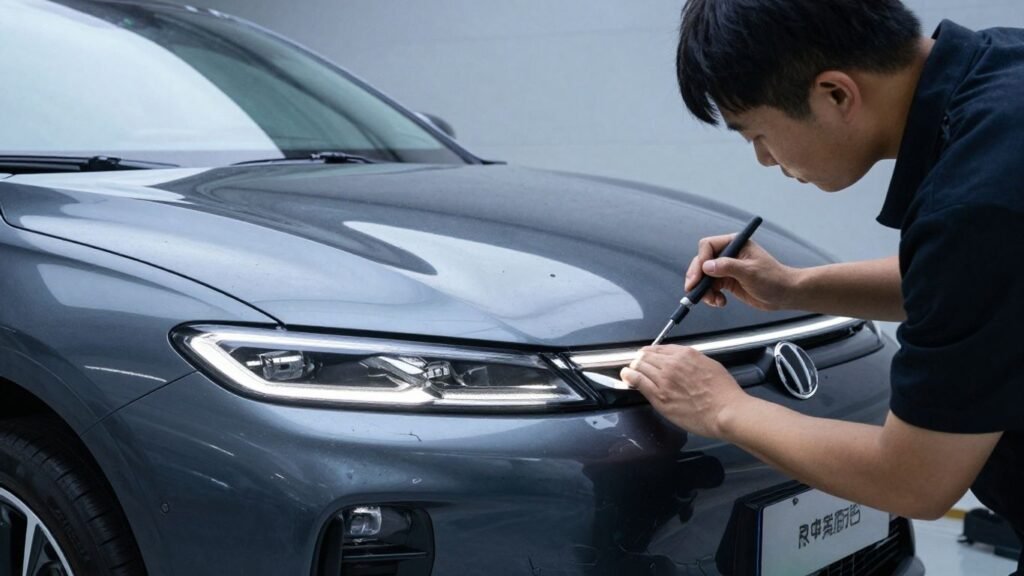
Key Takeaways
Properly managing your lighting upgrades requires preparation, the right tools, and an understanding of vehicle systems to ensure safety and function.
- Verify your specific headlight version before ordering parts to ensure compatibility.
- Use a proper trim removal kit to avoid damaging delicate painted surfaces during access.
- Always disconnect power sources in the vehicle to prevent short circuits during replacement.
- Follow the recommended torque specifications when reattaching the headlight assemblies to the chassis.
- Test all lighting modes including high beams and dynamic features before finalizing the bumper installation.
Preparing for a Tesla Model S headlight replacement
Verifying warranty status and service options
Before you commit to a DIY repair, take a moment to look at your current coverage. Checking your records ensures you do not inadvertently void any remaining protection for your vehicle electronics. Many owners opt for T Sportline components when they choose to move forward with performance or aesthetic upgrades outside of the standard service channel.
Assessing for hardware damage versus electrical failure
Determining exactly what went wrong is foundational to a successful repair. You might be dealing with a simple bulb failure, a cracked external lens, or a deeper fault within the ballast or wiring harness. Often, checking the left-hand assembly guide provides clarity on whether the issue stems from a structural impact or a genuine internal component malfunction.
Working safely with high-voltage system considerations
Electric vehicles require a cautious approach. You must ensure the car is powered down properly and, if necessary, placed into service mode to avoid accidental activation of electrical components while your hands are deep inside the front apron area. Wearing appropriate nitrile gloves and using non-conductive insulated tools is the standard for managing these sensitive high-voltage environments successfully and safely.
Identifying your Tesla Model S headlight version
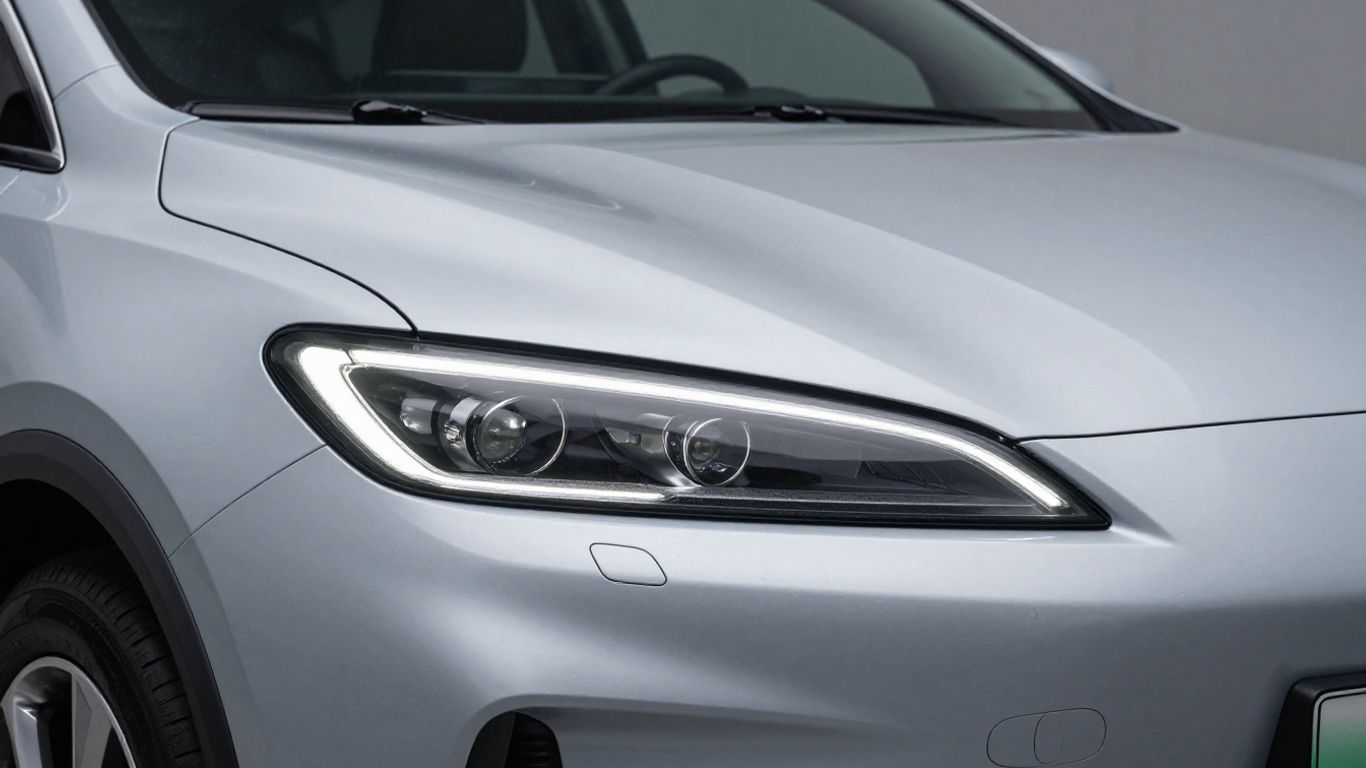
Differentiating between pre-facelift and facelift models
The transition in front styling dramatically changed the mounting points and electrical connectors for these vehicles. Models built before the 2016 design update feature distinct housing shapes compared to later versions. You should always cross-reference your VIN with the supplier to ensure you receive parts that match your specific production window.
Identifying adaptive lighting and dynamic cornering features
Advanced lighting systems adjust beam patterns based on steering orientation and road speed. If your vehicle was optioned with factory-integrated turning assistance, replacing the housing with a base-model equivalent will result in warning lights on your dash or loss of functionality. It is essential to ensure the part numbers match your specific vehicle build configuration.
Weighing OEM versus aftermarket lighting assemblies
Deciding between factory original and specialized aftermarket units depends on your goal for the vehicle. While OEM parts offer a guaranteed aesthetic and functional match, many enthusiasts customize their look using specialized shops. For instance, SW Lights offers a specific service that modifies existing hardware with enhancements like chrome deletes or custom etching, giving your front end a bespoke finish that differs from stock configurations.
Essential tools for a professional installation
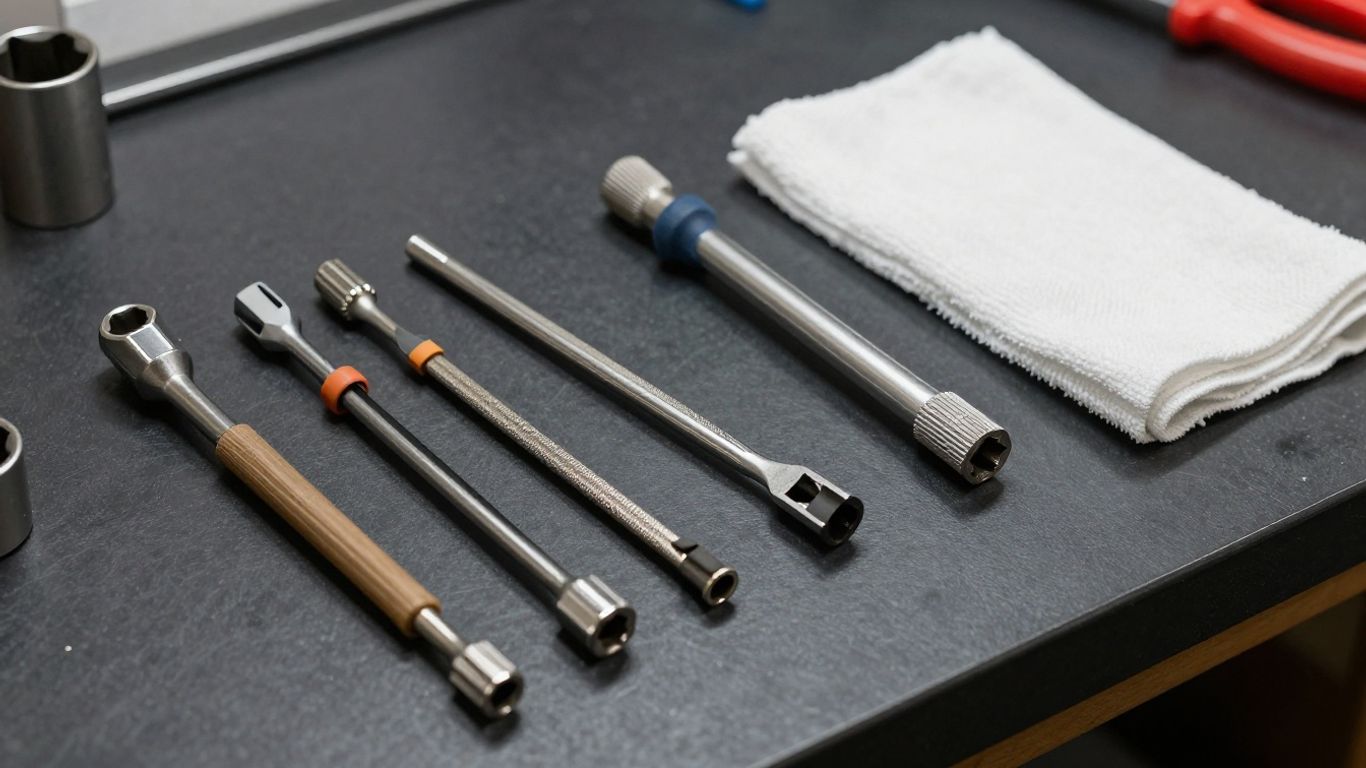
Recommended socket sets and plastic trim removal tools
Having the right gear prevents scratches on your front fascia and keeps bolts from stripping. Most disassembly tasks require a basic metric socket set, a Torx driver, and a dedicated set of nylon pry bars for popping loose the plastic fasteners without leaving gouges in the bumper paint.
Selecting high-quality replacement headlamp housings
Choosing the correct assembly involves balancing durability and precise fitment. Consider these critical factors when sourcing your replacement parts:
| Feature | Importance | Detail |
|---|---|---|
| Seal Quality | High | Prevents internal condensation |
| Material Grade | High | UV resistance for long-term clarity |
| Connector Fit | Crucial | Ensures factory harness compatibility |
Selecting a reputable source ensures that you do not deal with flickering signals or misaligned beam patterns once the installation is done.
Safety gear for handling delicate glass and electrical connectors
Even if the power is disconnected, small components remain fragile. Wearing protective eyewear keeps debris from falling into your eyes, while careful handling of the harness connectors prevents pin bending or accidental locking tab breakage during the removal process.
Step-by-step process for headlight removal
Removing front bumper clips and fastener panels
Accessing the headlight housings hidden beneath the fender coverage requires removing the front bumper fascia. Start by carefully unscrewing the fasteners along the top trim near the frunk, then locate the clips under the bumper and inside the wheel wells. Take your time, as the panels near the sensors are securely held in place by friction clips that require a gentle, steady pull.
Disconnecting vehicle electrical harnesses safely
The main wiring connector is often the most fragile part of the removal task. With the bumper moved partially out of the way, locate the locking mechanism on the harness. Be careful with the red locking tabs—if they exist, pull them outward until they click to release the internal latch, rather than trying to force the connector while pressure is applied.
Extracting the headlight assembly without damaging plastic brackets
Once the bolts are removed, the headlight housing usually slides out forward. Take note of the plastic guide stakes that align the housing with the bodywork. Following the Model Y headlight repair, note that similar logic applies here during extraction: slide the unit slowly to ensure you do not snap the mounting tabs or scratch the surrounding painted body panels.
Installing and calibrating your new assemblies
Ensuring proper seal and weather stripping placement
Before bolting the assembly in place, verify that the soft foam weather stripping is intact. This seal is the only thing keeping road moisture out of the cavity, and a pinched gasket will eventually lead to moisture ingress or foggy lenses that ruin your visibility.
Testing lighting functions and beam patterns before reassembly
Before you tighten every bolt on the bumper, plug in the harnesses and verify that the low beams, high beams, and turn signals work correctly. Cycle through the light settings while the assemblies are resting on their mounts in the open, which allows for quick, easy adjustments if you notice a loose connection or a flickering bulb.
Performing a baseline beam alignment check
Parking on a level surface approximately 25 feet from a white wall allows you to check your vertical cut-off lines. If one side sits higher or lower than the other, you may need to adjust the mounting bolts to shift the assembly housing before finalizing the torque values, ensuring your road illumination remains consistent and legal.
When to visit a Tesla service center for software-driven recalibration
Some modern lighting systems require the car to recognize new hardware via an internal service scan for adaptive cornering to function correctly. If you notice persistent warning messages or if the headlight angle does not track with your steering inputs, an official service visit will be necessary to execute the automated recalibration protocol.
Conclusion
Replacing your headlamp assembly is an involved process that rewards patience and precise attention to detail. By carefully sourcing your parts, utilizing non-marring tools, and respecting the sensitive electrical nature of these vehicles, you can successfully restore your visibility and enhance your car’s exterior appearance. Always prioritize safety and perform thorough testing before you hit the road.
Frequently Asked Questions
Can I replace only one headlight or should I do both?
While replacing only the failed unit is possible, it is often recommended to replace them in pairs to ensure the lenses have identical levels of clarity and UV protection, preventing an uneven look.
Is specialized software required for common headlight repairs?
For basic lighting replacements, software is often not required; however, if your vehicle uses adaptive dynamic cornering, a pairing process might be needed to enable full functionality.
What happens if water gets inside the new headlight assembly?
Water inside the lens usually indicates a compromised seal or a missing vent plug. You should inspect the weather stripping and the rear cover to ensure those points are completely sealed.
How do I know if my headlight failure is a fuse issue?
Check the vehicle’s fuse box diagrams for the lighting circuit before dismantling the front end, as a simple blown fuse is a far more common and cheaper fix than a full assembly replacement.
Does the front bumper need to be fully removed?
In most instances, the bumper must be at least partially detached from the chassis to provide enough clearance to unscrew the mounting bolts and slide the housing out without damaging the fender.
Can cleaning the lens from the outside fix dim lighting?
External oxidation can significantly reduce light output, and a dedicated restoration kit might solve your visibility issues if the internal electronics and the bulb itself are still performing at full factory specifications.
How should I store the old headlight unit after removal?
Keep the old assembly in a cool, dry place wrapped in bubble wrap to protect the plastic lens from scratches, as the unit may still serve as a backup if a bulb or ballast fails in the future.