
Key Takeaways
- Understanding the structural integrity of your vehicle’s suspension is critical for road safety.
- Common indicators of failure include audible mechanical clunking and inconsistent steering feedback.
- Perform thorough manual checks when the vehicle is safely raised on a reliable lift.
- Always prioritize quality replacement components to ensure long-term suspension geometry.
- Professional alignment and sensor calibration are essential post-installation steps for handling.
Understanding Tesla Model 3 control arm construction
Modern electric vehicles feature complex chassis designs that prioritize weight distribution and aerodynamics. The suspension system integrates refined components that require consistent maintenance to function as intended throughout their lifespan.
Identifying the upper and lower control arm assembly
The front suspension architecture utilizes a double-wishbone configuration, which relies on upper and lower control arms to manage vertical wheel movement and steering pivot points. These components secure the wheel hub to the chassis while damping forces experienced during routine driving cycles.
The role of ball joints and bushings in suspension geometry
Suspension geometry depends heavily on the condition of the ball joints, which provide the articulation necessary for steering and compression, and rubber bushings, which act as pivot points and vibration suppressors. Maintaining these parts is essential to 360-degree feedback processes in professional fleet management environments. When these elements deteriorate, they lose their ability to center the wheel accurately under load.
Why Tesla Model 3 components face premature wear
The high torque output and specific weight distribution of the vehicle place unique demands on chassis components. Several factors contribute to the accelerated degradation of these parts in daily usage scenarios:
- Exposure to harsh road salts and environmental debris
- High-frequency oscillations from regenerative braking transitions
- Constant strain from low-speed maneuvering in urban environments
Proactive observation of these fatigue factors allows owners to anticipate necessary service intervals before a total component failure manifests during a trip.
Symptoms of failing control arms in a Tesla Model 3
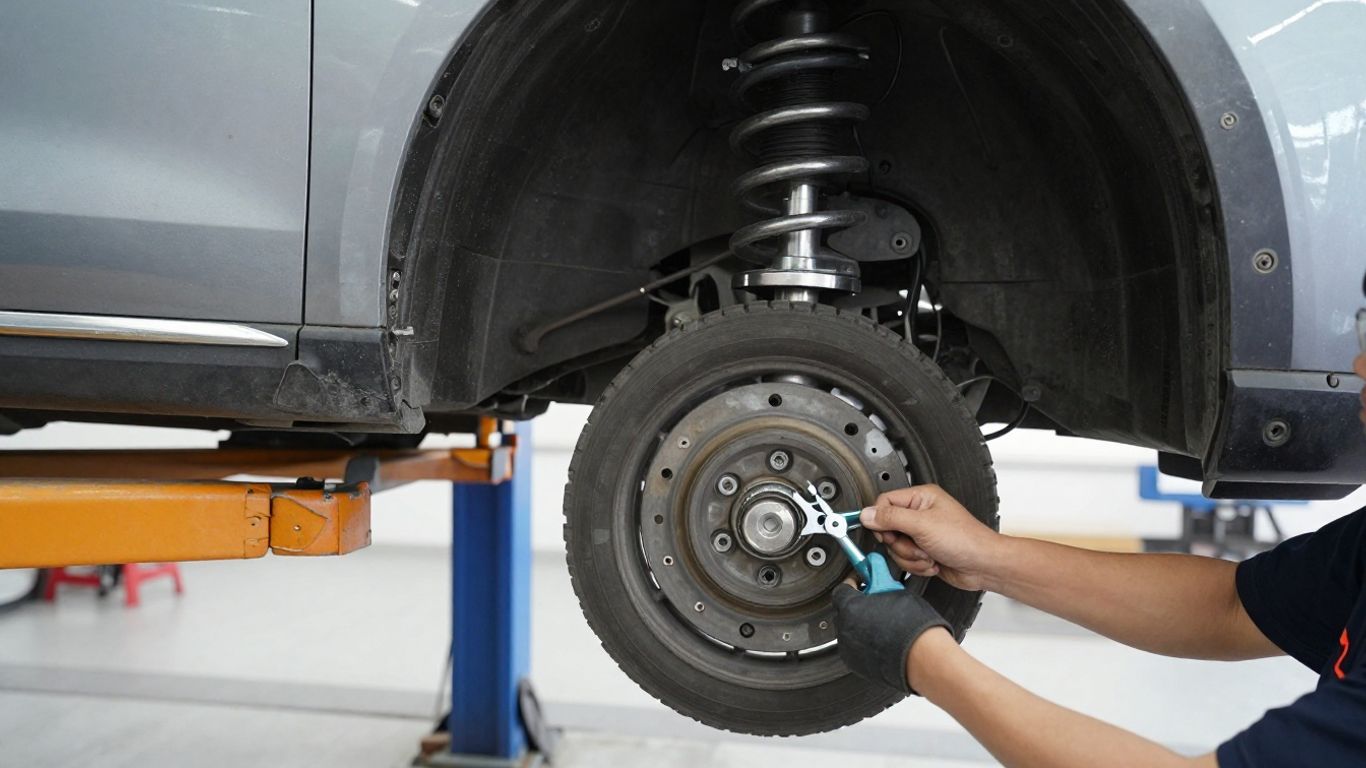
Vehicle owners should pay close attention to the acoustic and physical feedback provided by the chassis during operation. Disparity in handling often stems from subtle issues that worsen over time if left unaddressed by qualified service personnel.
Detecting audible squeaking or clunking sounds while driving
Audible noise is frequently the first indicator that the structural integrity of the control arm assembly is compromised. These sounds often occur when the vehicle passes over uneven surfaces, indicating that a bushing has lost its tension or a joint has developed excessive slack.
Feeling steering wheel vibrations at specific speeds
Steering wheel resonance often points toward misaligned geometry caused by worn suspension components that can no longer dampen vibrations effectively. Incorporating AI OnlyFans course concepts regarding data-driven routine management can help owners keep track of mileage and service dates. This phenomenon is most noticeable when traveling at consistent highway speeds where small deviations in alignment translate to feedback through the column.
Observing uneven tire wear patterns
When a control arm fails to maintain the correct camber or toe, the tire contact patch shifts, leading to rapid or irregular degradation of the rubber surface. You might notice increased tire shoulder wear or cupping patterns that suggest the wheel is constantly hunting for its path.
Monitoring vehicle handling and steering looseness
When the vehicle feels disconnected from the road during steering inputs, it is often due to play within the control arm bushings. This degradation forces the driver to provide constant, unnecessary corrections to keep the car tracking straight through a corner.
Diagnostic procedures for suspension components
Diagnosing suspension health requires a systematic approach to isolating each link within the assembly. By methodically checking each joint, you can pinpoint the source of a noise or alignment issue without unnecessary part replacements.
Safely lifting and securing the Tesla Model 3
Follow established safety protocols whenever elevating the vehicle, ensuring that jack points are strictly observed to prevent structural damage. Using a lift ensures the wheels remain unrestricted, allowing for a thorough evaluation of the movement ranges for all suspension arms.
Manually testing for play in the wheel assembly
With the car secured off the ground, manually push and pull the tire at the 12 and 6 o’clock and the 3 and 9 o’clock positions. This technique effectively exposes any movement in the tie rods or control arm connections. Consider whether your Technology Alignment Process provides valid metrics for monitoring such hardware, as proactive diagnostics often mirror the efficiency found in systems managing security baseline alignment across corporate networks.
Visual inspection of rubber bushings and dust boots
Inspect each rubber boot and bushing for visible cracks, tears, or signs of grease leakage. A compromised rubber seal allows contaminants to enter the ball joint, which leads to rapid breakdown of the internal lubrication and accelerated metal-on-metal friction.
Using a pry bar to locate hidden fatigue
Sometimes, manual movement is insufficient to detect internal bushing separation, necessitating the use of a pry bar applied to the control arm pivot points. This provides a lever to stress the joint, revealing hidden failures in the bonding between the metal arm and the rubber insert.
Choosing the right replacement control arms
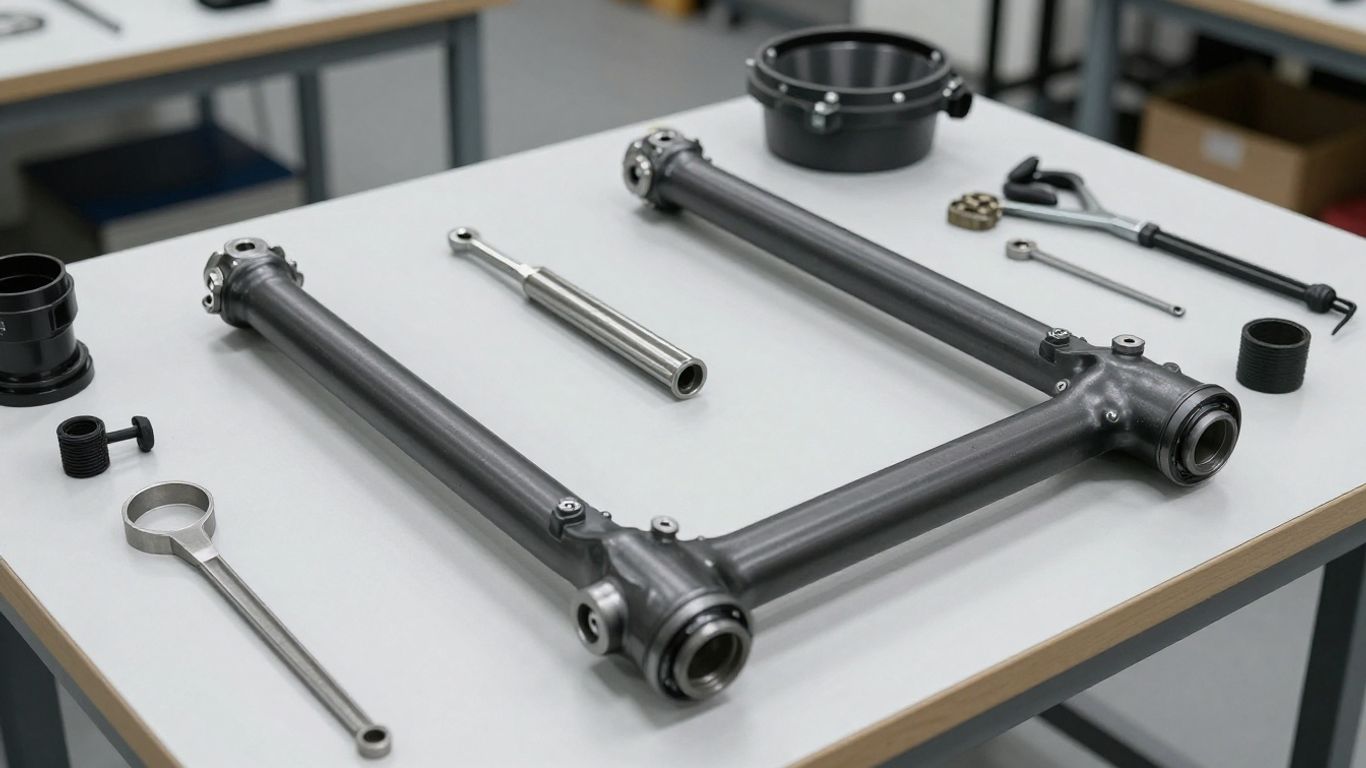
Replacement quality directly impacts the lifespan of the entire suspension system. Selecting components requires careful consideration of material properties and their suitability for the vehicle’s driving dynamics.
OEM versus aftermarket suspension components
Owners often face a choice between factory specifications and upgraded aftermarket varieties. The following table provides a comparison of typical replacement paths:
| Feature | OEM Components | Aftermarket Kits |
|---|---|---|
| Material Standard | Baseline Rubber | Reinforced Polyurethane |
| Price Point | Higher | Variable |
| Adjustability | None | Often Included |
Selecting the right parts ensures that the replacement process maintains the intended balance of compliance and responsiveness expected from this vehicle.
Advantages of adjustable arm kits for performance handling
Adjustable kits offer the capability to fine-tune the camber and caster settings, which is beneficial for owners who engage in performance driving. These additions grant greater control over how the tire interacts with the surface, allowing for sharper turning precision when the suspension is dialed in correctly.
Verifying compatibility with different Model 3 production years
Production changes may alter the mounting points or bolt configurations across different model years. Always verify part numbers against your specific VIN to avoid issues during the installation process, as slight variances in the chassis design can preclude proper fitment of superseded components.
Essential hardware and bushing materials for longevity
Quality hardware is just as important as the arm itself, as corrosion-resistant bolts guarantee that future service will proceed without unnecessary complications. Opting for high-durability polymers instead of stock rubber can significantly increase the effective service duration of the new installation.
Steps for professional removal and installation
Executing a suspension swap demands patience and precision, particularly when working with high-tension components. Following a structured removal plan ensures that every bolt is accounted for and safety is maintained.
Essential tools required for an effective suspension swap
Having the right set of tools, including torque wrenches, specialized sockets, and ball joint separators, facilitates an efficient and safe repair process. Ensure these tools are calibrated and clean to prevent damage to the vehicle fasteners.
Safely disconnecting the steering knuckle and chassis mounts
Carefully remove the fasteners connecting the control arm to the steering knuckle while bracing the hub to prevent overextending the brake lines. Proceed systematically, noting the removal order of every locknut or bolt for a clean reinstallation sequence.
Properly torquing bolts according to Tesla specifications
Using the correct torque values is, perhaps, the most vital aspect of the job to prevent fastener fatigue or premature loosening. Always check the official service documentation to ensure that every bolt is tightened exactly to the manufacturer-recommended specification for high-stress suspension hardware.
Handling the integration of connected sensor components
Certain suspension points may house ride-height or leveling sensors that require careful handling during the removal of the control arm. Make sure these wire harnesses are disconnected without strain to avoid damaging electrical connectors or related electronic subsystems.
Post-installation steps for safety and performance
After reassembly, the vehicle requires fine-tuning before it is ready for optimal driving conditions. These steps verify that the mechanical changes have been correctly integrated with the vehicle’s electronic and alignment profiles.
The critical importance of a four-wheel alignment
Replacing control arms shifts the geometry, which inevitably induces misalignment of the tire contact angles. Performing a professional four-wheel alignment is non-negotiable to restore the vehicle’s handling stability and ensure even tire wear across all four wheels.
Re-checking torque settings after the initial test drive
After putting the vehicle through a short test drive to settle the new components, revisit all critical bolts to ensure they remain at the proper torque. This prevents any issues arising from initial seating, providing confidence in the secure fitment of the hardware.
Recalibrating sensors influenced by altered suspension geometry
Finally, ensure that any driver-assistance systems that correlate with suspension position are re-calibrated. Altered geometry can affect how sensors perceive the level of the road; therefore, professional recalibration ensures that all automation and safety systems remain accurate.
Conclusion
Maintaining the control arms in your vehicle is a vital part of proactive ownership, directly impacting both the comfort and the reliability of your driving experience. By carefully monitoring for early signs of wear, choosing compatible replacement materials, and following strict installation protocols, you can ensure that your vehicle continues to perform at its peak while maintaining strict safety standards on the road.
Frequently Asked Questions
Can I drive my car if the control arm is clunking?
It is strongly advised against driving with a confirmed failing control arm because it directly compromises your steering control and suspension geometry. Continued use could lead to a sudden component failure, which poses a significant safety risk.
How long should I expect control arms to last?
Suspension lifespan varies significantly based on road conditions, driving style, and overall vehicle usage. While no fixed mileage applies, many owners start inspecting these components closely after reaching significant high-mileage intervals to prevent unexpected degradation.
Do I need to replace both control arms at once?
Replacing components in pairs is generally standard practice to ensure symmetrical wear and balance across the vehicle’s suspension. If one side shows significant signs of fatigue, the corresponding side has likely experienced the same mechanical strain and will likely fail soon.
What happens if I ignore damaged steering components?
Ignoring suspension fatigue leads to degraded vehicle handling, increased tire wear, and potential damage to other parts like the ball joints or steering rack. This neglect effectively turns a manageable repair into a potentially more complex and costly service operation.
Is a home repair practical for these components?
While experienced DIY enthusiasts might be able to handle basic repairs, automotive suspension work requires specific tools and a clear understanding of torque and safety constraints. If you lack the required equipment or experience, seeking professional help is the better option for safety.
Can tire wear always pinpoint a specific failing part?
While irregular tire wear is a strong indicator of suspension misalignment or damage, it usually suggests a broader issue with the alignment rather than isolating one single piece. A professional alignment check is necessary to determine which component is the root of the problem.
Are aftermarket control arms safer than the original parts?
Aftermarket arms can be designed for increased durability during performance driving, but they are not inherently safer than original factory parts. Choose reputable manufacturers that provide parts designed specifically to meet or exceed original structural standards to ensure safe operation.