

Key Takeaways
Door sill plates can help shield the threshold from everyday scuffs while giving the entry a different look. The right choice depends on fit, coverage, material, and careful installation.
- Check the model year and body design before ordering.
- Compare material, finish, dimensions, and the number of pieces in a set.
- Make sure each plate clears the door and fits its intended position.
- Clean and dry the surface, then test-fit before removing adhesive backing.
- Check the edges from time to time and clean each material gently.
What door sill plates do
Door sill plates cover part of the threshold at the base of a vehicle’s door opening. They can serve a practical role where shoes and bags pass close to painted trim, and they can also change the appearance of the entry. Before choosing a set, it helps to distinguish the sill itself from nearby interior surfaces that may need different protection.
Protecting paint from shoes, bags, and everyday scuffs
Getting in and out means feet and belongings pass over the lower doorway, sometimes close to painted or finished trim. A sill plate can provide a surface over part of that threshold, helping reduce direct contact with the area it covers. Coverage varies by shape, so check which portion of the entry a particular design actually reaches rather than assuming it protects the entire opening.
Covering the threshold without interfering with the door
A plate should sit on the intended sill area without obstructing the door’s movement or rubbing against adjacent trim. Its edges and overall profile matter as much as its length: a piece that overhangs, shifts, or sits unevenly can be a poor fit even if it looks right in a product photo. Leave enough time to check the door clearance before committing the adhesive.
Distinguishing sill plates from kick-panel protectors
Sill plates cover the horizontal threshold area at the bottom of the doorway. Kick-panel protectors, by contrast, are intended for the nearby vertical trim that may get marked by shoes. Some sets include pieces for both areas, but the names used in listings can vary, so read the description and count the shapes shown rather than relying on the product title alone.
Types and materials to consider
Sill plates are available in different finishes and materials, and each gives the doorway a slightly different feel. Some are rigid and polished, while others are flexible and designed to follow the contours of the sill. The simplest comparison is to consider appearance alongside the kind of surface you will need to clean and maintain.
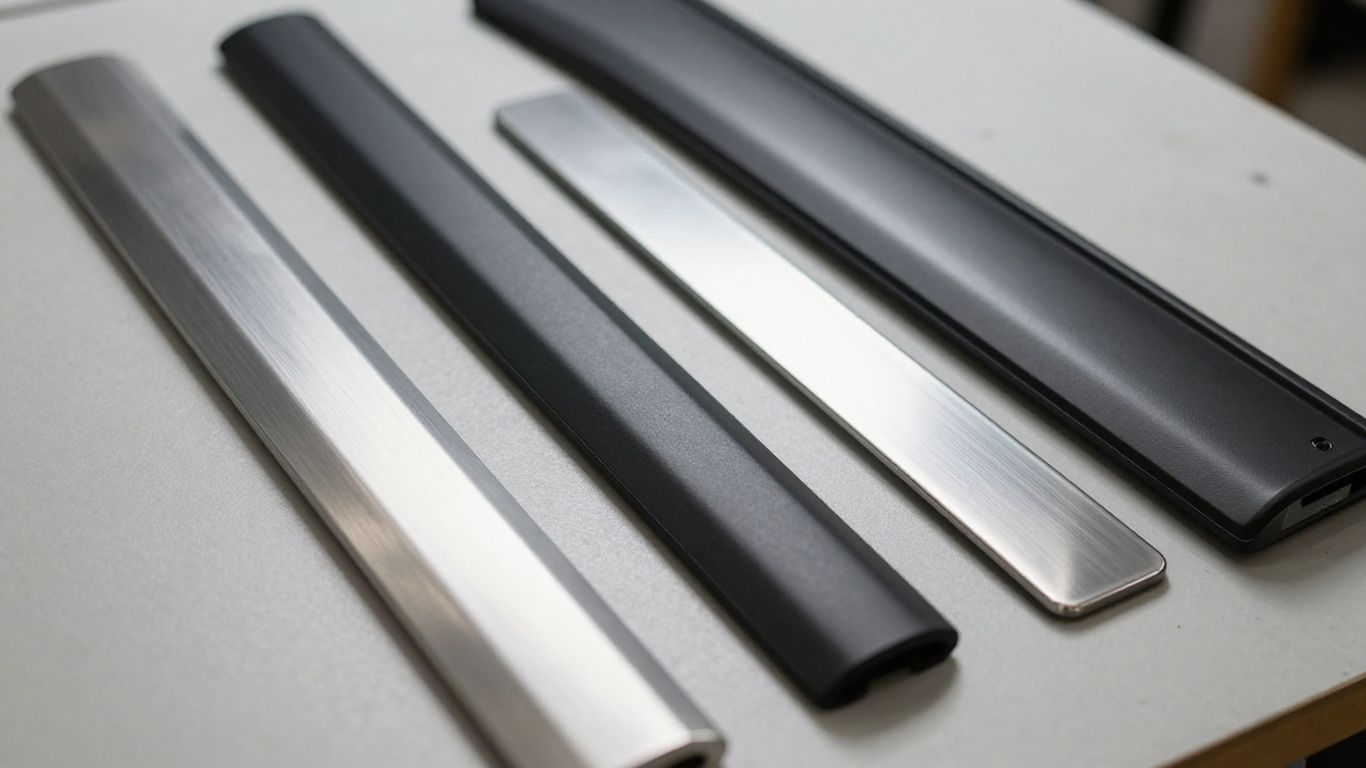
Stainless steel plates for a durable, polished finish
A stainless steel plate gives the threshold a smooth, reflective look and a firm surface underfoot. Check the finish in product photos, since a bright polish and a brushed appearance can look quite different beside the vehicle’s existing trim. A rigid plate also depends on accurate sizing and placement; it is not as forgiving of a mismatch as a flexible cover.
TPE and other flexible materials for a close-fitting cover
Flexible materials such as TPE can bend more readily around a shaped threshold, and a matte finish may suit an understated interior. The exact fit still depends on the piece’s dimensions and contours, so flexibility should not be treated as proof of compatibility. If you are weighing material options, this quick comparison highlights the trade-offs to check:
| Material or style | Typical look and feel | What to check |
|---|---|---|
| Stainless steel | Firm, polished or brushed surface | Finish, edge shape, and fit |
| TPE or flexible material | More pliable, often matte | Contour, thickness, and cleaning directions |
| Illuminated style | Decorative entry accent with lighting | Power source, wiring, and care instructions |
The table is a starting point, not a substitute for the listing’s specifications. Product details should explain the material and any particular cleaning limits, especially if the surface has a finish or lighting components that could be damaged by abrasive products.
Illuminated plates for added visibility and styling
Illuminated plates add a lighted accent to the entry, but their construction and power source can differ from one set to another. Read whether the design uses a battery or requires a connection, and check what the package includes before buying. For an example of the kind of information to look for, a set of LED sill protectors is described as using built-in button batteries without vehicle wiring; confirm the details for the specific set you are considering.
Check fitment before you buy
Fitment is more than finding the right vehicle name in a listing. Model year, body design, and the shape of the doorway can affect whether a plate lines up as intended. Australia’s trusted Car Parts Supplier connects customers with quality used, genuine, and aftermarket parts through its car parts network, but whichever source you use, verify the specific application and set contents before ordering.
Matching the plates to your Model 3 model year
Start with the vehicle’s model year and the product’s stated fitment range. If a listing covers several years, confirm that it explicitly includes yours instead of assuming that all Model 3 thresholds share the same shape. The year shown in an online listing is a useful first filter, not a guarantee that every included piece will suit every trim or design variation.
Confirming compatibility with Highland and earlier designs
The Highland redesign makes it especially important to check that a set is intended for the correct generation. A listing for an earlier Model 3 should not be treated as interchangeable unless the seller says so, and the reverse is true as well. A Highland protection cover set illustrates why listings may identify a specific design and piece count; use those details as a prompt to verify fitment for your own vehicle.
Comparing front and rear coverage and left-right placement
Sets can differ in how many pieces they include and which doorways those pieces cover. Before checkout, compare the product description with the vehicle’s layout, and keep left and right placement clear during installation. A short fitment check can catch common sources of confusion:
- Confirm the exact model year and design named in the listing.
- Count the pieces and note which are for the front and rear.
- Check whether left- and right-side pieces are distinct.
- Compare the product shape with the sill area shown in the photos.
Once those details line up, review the installation guidance and any exclusions in the listing. Australia’s trusted Car Parts Supplier focuses on connecting customers with quality used, genuine, and aftermarket parts; vehicle-specific fitment still needs to be checked for the individual part you choose.
How to choose the right set
A suitable set is the one that fits the car and meets your priorities, not necessarily the one with the most elaborate finish. Decide whether you care most about a discreet protective layer, a more polished appearance, or an illuminated accent. Then compare the practical details, including the number of pieces, mounting method, and the seller’s terms.
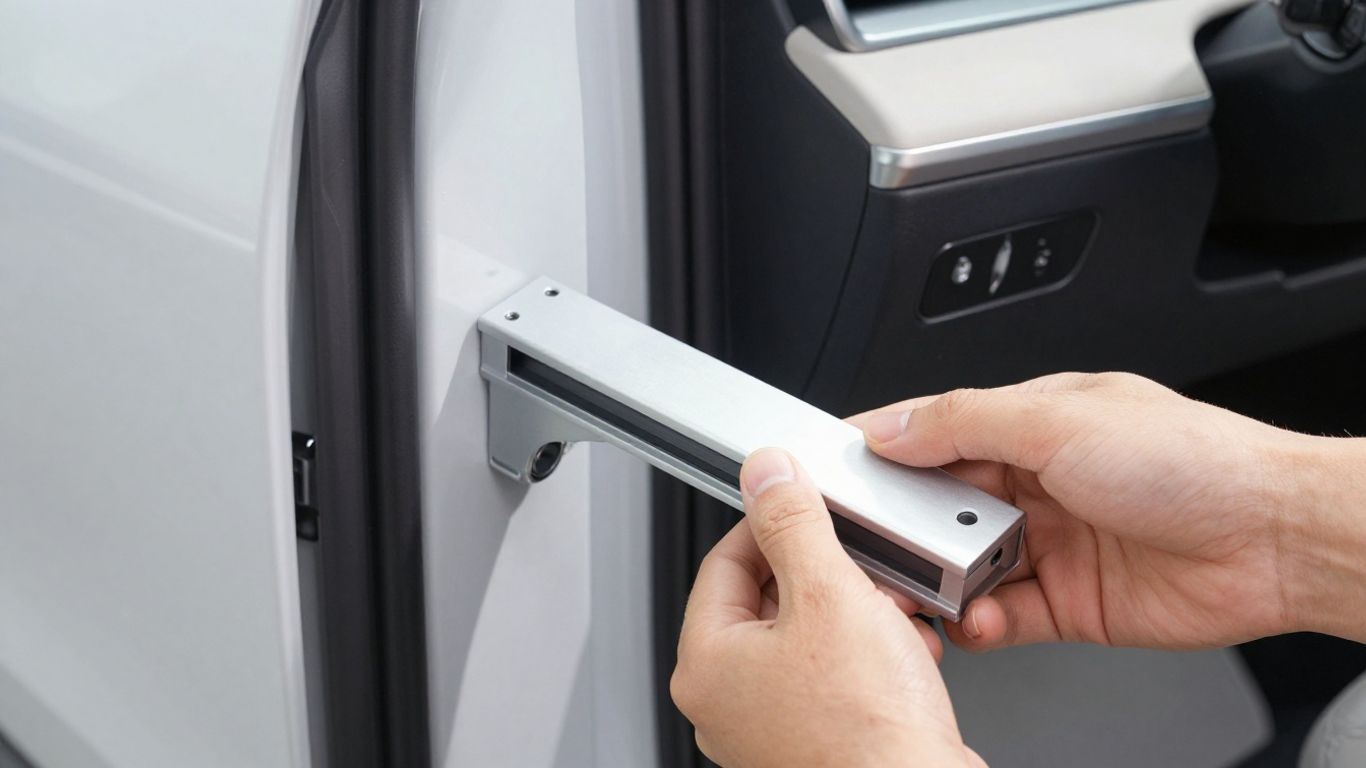
Balancing protection, appearance, and price
Think first about where the threshold gets marked and how much of it you want to cover. A wider piece may cover more area but can be more noticeable, while a small accent may leave surrounding trim exposed. Price is easiest to assess once you know what is included and whether the material and finish suit your expectations; a low price alone does not tell you whether a set fits.
Checking dimensions, included pieces, and product photos
Read measurements alongside the stated fitment, then compare them with the product images. Photos can help reveal edge shape, finish, and whether the pieces appear to cover the front, rear, or both. When a listing’s images or descriptions are difficult to interpret, clear accessible interface practices are a useful reminder that readable information and meaningful image descriptions help people assess online content; for your purchase, look for listings that make the product details easy to understand.
Reviewing adhesive type, warranty, and return policy
Check how the plate attaches and whether the adhesive is supplied with the set. Read warranty coverage, return conditions, and any requirements for an unused item before opening the package. Australia’s trusted Car Parts Supplier helps people find parts through a network of used, genuine, and aftermarket options; whatever the seller, read the terms that apply to the specific item. A terms and cancellation policy overview is one example of the kind of policy information a buyer may want to review before making a purchase.
How to install door sill plates
A careful installation starts with preparation, not with peeling the adhesive liner. Dirt, moisture, or a rushed alignment can undermine the result, and once adhesive has made contact it may be difficult to reposition the piece cleanly. Set aside a little time, follow the instructions supplied with the plates, and avoid improvising if the product calls for a particular method.
Cleaning and drying the mounting surface
Remove loose grit from the sill and clean the mounting area with a method that is safe for the vehicle’s trim. Let the surface dry fully before proceeding; adhesive applied over moisture or residue may not hold as intended. For broader vehicle-cleaning ideas, see this guide to Tesla cleaning and protection, and always follow the care instructions for the surface and the sill plate itself.
Test-fitting each plate before removing adhesive backing
Place each piece in its intended position while the backing is still on. Check that the shape follows the sill, the edges sit evenly, and the door closes without contact. If the set includes several similar pieces, keep track of their locations so that you do not confuse left and right or front and rear during application.
Applying even pressure and allowing the adhesive to set
When the alignment looks right, remove the backing and apply the plate gradually, pressing along its length rather than securing just one end. Follow the product’s instructions for pressure and setting time, and avoid unnecessary movement while the adhesive settles. A front left sill installation guide is an example of vehicle-specific service information; consult the instructions for your own part if they differ from a general accessory installation.
How to care for sill plates over time
Routine care is usually straightforward, but the right method depends on the plate’s material and any lighting or surface finish it has. Dust and small bits of grit can collect near the edges, where repeated contact may be more noticeable. A gentle inspection during ordinary interior cleaning can help you spot a problem before it becomes harder to address.
Cleaning metal, plastic, and illuminated surfaces safely
Use a soft cloth and a cleaner appropriate for the material, testing cautiously if the product’s instructions are unclear. Avoid abrasive pads and harsh chemicals unless the manufacturer specifically permits them. For an illuminated design, take extra care around seams and follow its cleaning directions rather than letting liquid collect around the lighted parts. If you also use public chargers, public charging safety guidance covers a separate part of vehicle ownership and does not replace the care instructions for your sill plates.
Checking edges for lifting or trapped debris
Look along the full perimeter for a corner that has lifted or grit trapped beneath an edge. Do not force the plate back down over debris; clean the area and check the product instructions for the appropriate next step. Keeping up with small repairs and reuse can also be part of a practical low-waste routine, as explored in sustainable living books, without turning basic car care into a major project.
Removing or replacing plates without damaging the trim
If a plate needs to come off, avoid pulling sharply or using a tool that could gouge the surrounding trim. Follow the manufacturer’s removal guidance and work slowly; adhesive and trim materials vary, so there is no single safe method for every set. After removal, clear any residue using a product suitable for that surface, then check the sill before fitting a replacement.
Conclusion
Choosing Tesla Model 3 door sill plates comes down to confirming the right design, understanding what each set covers, and installing it with care. Compare the material and product details, prepare the surface properly, and check the edges as part of ordinary interior maintenance. Those small steps help make the finished fit look considered and keep the threshold easier to care for.
Frequently Asked Questions
Do door sill plates protect the whole doorway?
Not usually. A sill plate covers the part of the threshold its shape reaches, while nearby vertical trim may need a separate kick-panel protector.
How do I know which model year a set fits?
Check the product’s stated fitment range and compare it with your vehicle’s model year and design. Ask the seller if the listing leaves a gap or uses unclear wording.
Should I choose a rigid or flexible sill plate?
That depends on the finish and fit you want. Compare the material, contour, dimensions, and care instructions rather than assuming one type suits every threshold.
Can I install sill plates myself?
Many adhesive-mounted plates are intended for straightforward installation, but the steps vary by product. Follow the supplied instructions and take time to clean, dry, and test-fit the pieces first.
How long should I wait before using the door after installation?
Follow the adhesive or product instructions for setting time. If no timing is provided, check with the seller or manufacturer rather than guessing.
What is the safest way to clean a sill plate?
Use a soft cloth and a cleaner suitable for its material, and avoid abrasive products unless the instructions permit them. Illuminated styles may need extra care around seams and light components.
What should I do if an edge starts lifting?
Inspect the edge for debris and consult the product’s care or installation guidance. Avoid pressing dirt underneath or applying an unapproved adhesive that could affect the plate or trim.