

Key Takeaways
Good mud flaps or splash guards should match the car, the roads you drive, and the clearance around each wheel.
- Check model year, trim, wheel size, and suspension before buying.
- Choose coverage and material based on weather, road debris, and appearance.
- Clean the mounting area and inspect clips before installation.
- Tighten hardware carefully, then verify steering and tire clearance.
- Wash and inspect the guards regularly so small problems do not become expensive ones.
Understanding what Tesla mud flaps and guards do
Tesla mud flaps and guards sit behind the wheels, where they can interrupt the spray of water, grit, salt, and loose stones thrown from the tires. They will not make the vehicle immune to road damage, but they can reduce how much debris reaches nearby paint and lower body panels. The best choice depends less on appearance alone than on the surfaces and weather your car regularly encounters.
How mud flaps protect paint and body panels
A rotating tire can send wet dirt and small stones backward and outward at considerable speed. A guard creates a physical barrier in that path, helping limit splatter on the rocker panels, lower doors, wheel-arch edges, and nearby underbody areas. This is especially useful when a clean-looking finish matters, since repeated grit impact can gradually mark painted surfaces.
Protection is not identical to prevention. A guard may reduce the amount of debris thrown toward the body while leaving some spray, dust, and impact outside its coverage. Keeping the surrounding paint clean and inspecting it occasionally still matters.
The difference between mud flaps and splash guards
The terms are often used interchangeably, but the designs can differ. Mud flaps are commonly flexible or semi-flexible pieces that extend down from the wheel arch. Splash guards may be shaped more closely to the body and can focus on redirecting water and debris without extending as far.
Some kits combine both ideas or offer a separate splash-guard layer. For example, installation guidance for earlier Model 3 kits describes aligning a splash guard with a mud flap before pressing the two pieces together. Read the kit instructions rather than relying on the name alone.
Driving conditions that make extra protection worthwhile
Extra protection becomes more useful when a vehicle regularly travels on wet roads, gravel, sandy shoulders, or routes treated with salt. Winter slush can collect behind the wheels, while dry gravel can strike exposed lower panels. Drivers who spend time on unpaved roads or rally-ready mud flaps may also value broader coverage.
Urban driving is not risk-free, either. Construction zones, puddles, and roads with loose aggregate can create the same kind of spray and impact found outside town. The right question is how often those conditions occur, not whether every trip is adventurous.
Common limitations and trade-offs
Larger guards can improve coverage but may be more visible and more likely to catch on steep driveways or deep ruts. A rigid design can hold its shape neatly, while a flexible one may tolerate contact better. Either type can rub if it is misaligned, installed with the wrong fastener, or paired with a wheel and tire combination it was not designed around.
Fitment comes before styling because a good-looking accessory is still a poor choice if it interferes with the tire. Guards also add another surface to clean, and damaged clips can allow movement that gradually marks the wheel-well liner.
Choosing the right option for your Tesla model
Model names alone are not enough to confirm compatibility. Production changes, updated bodywork, wheel packages, tire dimensions, and suspension height can all affect the space available inside a wheel well. Compare the kit’s stated application with the exact vehicle before ordering, and treat “universal” language cautiously.
The product range described in the Model 3, Y, S, or X protection selection illustrates why model-specific checking is useful. A guard shaped for one wheel arch may attach successfully to another car yet sit at the wrong angle or leave an exposed section of panel.
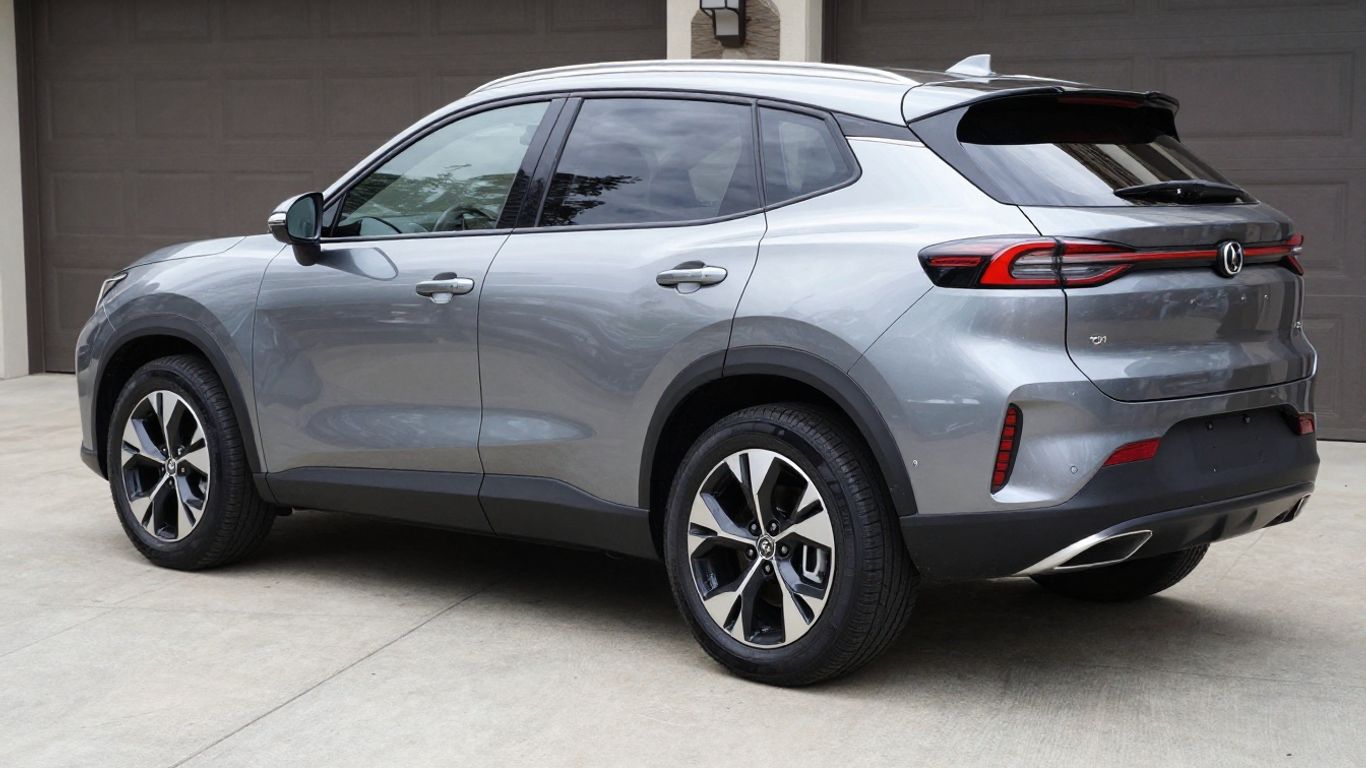
Tesla Model 3 fitment considerations
For a Model 3, check the model year and whether the car has updated exterior details associated with a newer version. The wheel-arch liner, fastener style, and mounting holes should match the instructions supplied with the kit. Earlier cars may use a different installation sequence from vehicles produced later.
A dedicated Model 3 installation guide can be useful when its production range matches your vehicle. It covers preparation, access to the wheel-well area, and different fastener arrangements for earlier kits, but it should not replace the instructions for a newer or differently configured car.
Tesla Model Y fitment considerations
The Model Y has its own wheel-arch shape and available clearance, so a Model 3 kit should not be assumed to fit. Check whether the listing names your model year and wheel configuration. Also consider how much the guard extends below the body, particularly if you regularly use steep ramps, rough roads, or unpaved parking areas.
The WeatherBloc Mud Flaps listing specifies compatibility with Tesla Model Y vehicles from 2022–2023. It also describes a no-drilling installation, four mud flaps, and included PPF; those details are specific to that product and should be confirmed against the current package before purchase.
Tesla Model S and Model X compatibility
Model S and Model X wheel openings, body dimensions, and mounting points differ from those of the smaller models. Look for an application that names the correct vehicle rather than assuming a kit for a Model 3 or Model Y will transfer. On either car, inspect the rear wheel area closely because body contours can influence how a guard sits.
For these larger vehicles, coverage should be weighed against clearance and appearance. A longer flap may intercept more debris but can also be more noticeable from the side. If the listing groups several models together, verify the exact hardware and position shown for yours.
Checking trim, wheel, and suspension differences
Before committing to a kit, compare tire width, wheel diameter, wheel offset, and any suspension changes with the fitment notes. Turn the front wheels through their full range and look for the narrowest gap between the tire and liner. If the car has aftermarket wheels or tires, factory fitment information may no longer be sufficient.
A quick pre-purchase checklist keeps the decision practical:
- Confirm the exact model year and body version.
- Match the listed wheel and tire dimensions.
- Check whether the kit requires drilling, adhesive, clips, or special nuts.
- Compare the guard’s lower edge with your usual road and driveway clearance.
Afterward, compare the actual mounting points on the car with the product photos or diagram. Small discrepancies are easier to resolve before the vehicle is on the driveway with hardware removed.
Comparing materials, designs, and coverage
Materials affect how a guard behaves when it meets water, grit, cold weather, and an occasional obstruction. Shape matters just as much: two pieces made from similar material can protect very different areas. Think of the choice as a balance between coverage, resilience, visual presence, and ease of replacement.
Flexible rubber versus rigid plastic construction
Flexible rubber-like materials can bend when they brush against loose snow or a shallow obstacle, then return toward their original position. Rigid plastic can provide a crisp edge and stable shape, but it may transmit more force if it contacts something hard. Many modern kits use materials that sit between those extremes.
Do not judge material by feel alone. Look at the thickness, mounting surface, edge shape, and temperature range described by the maker. A flexible flap still needs secure attachment, and a rigid guard still needs enough clearance to avoid repeated contact.
Full-coverage designs versus minimalist guards
Full-coverage guards generally extend farther down or outward, increasing the area that can intercept spray and stones. Minimalist designs preserve more of the vehicle’s original profile and may be less conspicuous. Neither is automatically superior; the useful choice depends on how much debris your tires encounter.
A broad design can be sensible for gravel and salted roads, while a shorter guard may suit mostly paved driving. Look at both front and rear coverage because the spray pattern and available space are not the same at every wheel.
OEM-style kits versus aftermarket alternatives
An OEM-style kit typically aims for a close visual and mounting match to the vehicle. An aftermarket alternative may offer different materials, added coverage, a different finish, or a revised installation method. Compare what is actually included rather than assuming one category always has better durability.
The key checks are straightforward: application range, hardware, instructions, coverage, and return policy. If a kit includes protective film, adhesive, or replacement clips, confirm that those parts are intended for your particular installation and not merely shown in a generic image.
Balancing appearance, durability, and ground clearance
Stand several feet away from the car and consider how visible the guards will be from the side. Then crouch near the rocker panel and estimate the lowest point relative to curbs, ramps, and the roads you use. A visually subtle guard that constantly scrapes will be frustrating, while an oversized one may protect well but not suit your preferences.
Use the table below as a starting framework, not as a substitute for the kit’s fitment instructions.
| Priority | Design tendency | Useful when | Main compromise |
|---|---|---|---|
| Maximum debris control | Longer, wider guard | Gravel, sand, and frequent wet roads | More visible and less clearance |
| Low visual impact | Short, close-fitting guard | Mostly paved urban driving | Less coverage |
| Contact tolerance | Flexible material | Snow, uneven surfaces, and occasional brushing | May look less rigidly finished |
| Stable shape | Rigid or semi-rigid material | Clean styling and predictable positioning | Can resist impacts less forgivingly |
Whichever direction you choose, inspect the lower edge after a few drives. Real-world clearance tells you more than a product photo taken on a level floor.
Preparing for installation
Preparation is where many avoidable installation problems are prevented. A clean wheel well makes it easier to see the fasteners, while a careful fitment check keeps you from forcing a part into the wrong position. Allow enough time to work slowly, especially if the clips are dirty or brittle.
The WeatherBloc Mud Flaps product information describes no-drilling installation and included PPF for its specified Model Y application. Those features can simplify preparation, but they do not remove the need to clean the surface and confirm that the supplied parts match the vehicle.
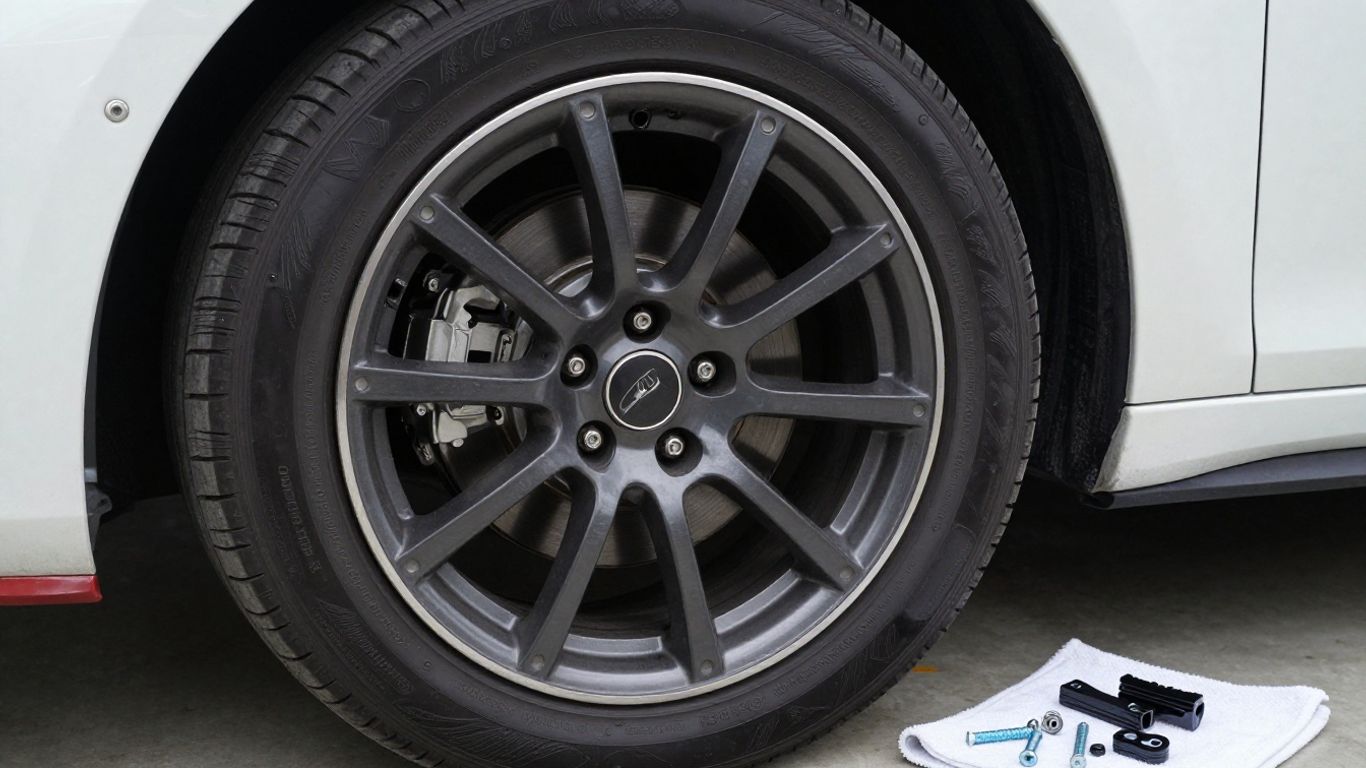
Tools and supplies you may need
The exact tools vary by kit and vehicle, but most installations benefit from a small set of basic supplies. Have a trim-tool or suitable flat tool, the correct driver or socket, a clean cloth, and an appropriate surface cleaner nearby. A flashlight is helpful when the wheel arch blocks the mounting points.
Avoid improvising with tools that can gouge painted edges or distort plastic clips. Keep the supplied washers, screws, push clips, and nuts together so the hardware for one corner does not get mixed with another.
Inspecting wheel wells and mounting points
Before removing anything, look for torn liners, missing clips, packed mud, or previous repairs. A guard cannot sit squarely against a damaged mounting surface. Check that the holes are open and that the liner is not pulling away from the body.
If a fastener spins without tightening or a hole looks enlarged, stop and identify the cause. Installing a new flap over a weak attachment point may hide the issue briefly but can lead to looseness and rubbing later.
Cleaning and preparing the installation area
Rinse away loose grit first, then clean the contact area as directed by the kit instructions. If adhesive or protective film is involved, the surface generally needs to be clean and fully dry before application. Do not rush this step; trapped sand can hold the guard away from the panel.
Use a lint-free cloth and give the area time to dry. Keep freshly cleaned surfaces free from road dust while you arrange the hardware and compare the left and right pieces.
Reviewing fitment and manufacturer instructions
Read the instructions once before beginning and again at the relevant wheel. Fastener types and installation sequences can differ between kit generations, model years, and corners of the vehicle. The WeatherBloc Mud Flaps listing, for instance, identifies a four-piece package and specific Model Y years; that is not a universal instruction for every Tesla model.
Lay out each guard beside its intended wheel and compare the hole pattern. If the part does not naturally follow the wheel-arch contour, do not solve the mismatch by pulling it into place with excessive screw pressure.
Installing Tesla mud flaps and guards
Installation should be a controlled process rather than a race. Work one corner at a time, support the liner where necessary, and keep the guard aligned while the hardware is started. The goal is a secure attachment with even contact, not maximum force.
If a kit’s instructions specify a torque value, use it. Plastic panels and clips can be damaged by overtightening, and a distorted mounting point makes later servicing harder.
Removing existing fasteners and clips
Turn the steering wheel as needed to create access at the front wheel, then identify which clips, bolts, or covers must be removed. Pull clips out carefully and keep track of their orientation. A trim tool usually gives better control than prying aggressively with a sharp screwdriver.
If dirt has packed around a fastener, clean the area before applying force. Replace damaged or stretched clips rather than reusing them simply because they came out of the car.
Positioning the front and rear guards
Hold the guard against the wheel-arch liner and align every hole before inserting hardware. The molded edge should follow the intended contour without a visible twist. Front pieces often require extra attention because steering movement reduces the available space.
Do not fully tighten the first fastener immediately. Start each attachment point loosely, adjust the position, and then tighten progressively so the guard remains centered throughout the process.
Securing hardware without damaging panels
Use the supplied washers, nuts, screws, or push clips in the order described by the manufacturer. Tighten until the guard is held firmly, but stop before the panel dimples or the plastic begins to deform. If adhesive is part of the design, apply steady pressure over the contact area rather than pressing only at one corner.
After securing the piece, run a finger along its edge to check for lifted sections or trapped material. A smooth, even fit is usually more reliable than a heavily compressed one.
Checking tire clearance and steering movement
With the car stationary, turn the steering wheel fully left and right while watching the front tire and guard. Check the rear wheels as well, looking for contact at the upper, lower, and trailing edges. Then roll the vehicle slowly a short distance and listen for rubbing that may not appear while parked.
Clearance should be checked again if the car has nonstandard wheels, tires, or suspension. A guard that is quiet on level ground can still touch during compression, turning, or a sharp driveway transition.
Maintaining and troubleshooting your guards
Mud flaps work in a dirty part of the vehicle, so maintenance is simple but worthwhile. Regular washing prevents packed grit from holding moisture against the liner and makes cracks easier to see. A quick inspection during tire rotation or seasonal cleaning is often enough to catch trouble early.
Cleaning mud, salt, and road debris
Rinse loose material away before wiping the guard. Salt and dried mud can be abrasive, especially when rubbed across a surface without enough water. Clean behind the guard where practical, since buildup there can conceal a loose clip or a damaged edge.
After winter driving, give the wheel wells and mounting area extra attention. Let the parts dry before inspecting them so a thin crack or separation is not hidden beneath wet grime.
Inspecting fasteners and mounting points
Look for missing clips, backed-out screws, cracked holes, and movement at the upper edge. The guard should not flap noticeably when touched by hand. Also check the liner and nearby paint for fresh scuffing, which can indicate that the part has shifted.
A small amount of looseness is a reason to investigate, not simply tighten harder. The correct replacement fastener may be needed if the original no longer grips the mounting point.
Fixing rubbing, looseness, or poor alignment
First identify whether the problem comes from the guard, the liner, the hardware, or a wheel-and-tire change. Loosen the affected fasteners slightly, realign the piece, and retighten evenly if the mounting points are sound. If rubbing continues, compare the installed position with the supplied diagram instead of trimming immediately.
Persistent contact can damage both the guard and the liner. Have the fitment checked if the part cannot sit naturally, particularly after suspension work or a change in wheel offset.
Knowing when to replace damaged guards
Replace a guard when it is split through a mounting hole, badly deformed, missing a substantial section, or no longer stays clear of the tire. Temporary repairs may hold a small cosmetic crack, but they should not be relied upon when the attachment point or clearance is compromised.
When ordering a replacement, confirm whether one corner or a complete set is supplied. Match the original application and hardware, then inspect the opposite side as well; damage on one side can reveal a condition affecting both.
Conclusion
The right protection is the one that fits the exact vehicle, suits its roads, and remains clear of the tires through normal steering and suspension movement. Take time to compare coverage, material, and hardware, then keep the wheel wells clean and the mounting points tight. That modest routine helps Tesla mud flaps and guards do their job without creating a new source of noise, rubbing, or panel damage.
Frequently Asked Questions
Are mud flaps and splash guards the same thing?
They can overlap in everyday usage, but a mud flap is often a flexible piece extending behind the wheel, while a splash guard may follow the body more closely. Product terminology varies, so compare the shape and coverage rather than the label alone.
Do all vehicles use the same mud flap kit?
No. Wheel-arch shape, mounting holes, model year, wheels, tires, and suspension can all change fitment. Always match the kit to the specific vehicle configuration.
Can mud flaps prevent all paint damage?
No. They can reduce some spray and debris reaching nearby panels, but they cannot block every angle of impact or replace washing and paint protection measures.
Is drilling required for installation?
Some kits use existing fasteners, clips, adhesive, or protective film, while others may require additional work. Read the instructions for the exact kit before starting.
How can I tell whether a guard is rubbing?
Look for fresh scuff marks, listen for contact while turning, and inspect clearance at the front and rear of the tire. Check again during slow movement and over changes in road height.
How often should mud flaps be cleaned?
Clean them whenever the vehicle is washed and more thoroughly after heavy mud, gravel, or salted-road driving. Frequent rinsing helps prevent abrasive buildup around the mounting points.
When should a damaged guard be replaced?
Replacement is sensible when a guard is split through a mounting hole, badly warped, missing material, or unable to remain clear of the tire. A secure, correctly aligned attachment matters more than preserving a damaged piece.