

Key Takeaways
A good tow setup begins with matching the equipment to the exact vehicle, then confirming the limits before buying or installing anything.
- Verify your Tesla model, year, trim, and tow-package compatibility.
- Make sure the kit includes the receiver, hardware, wiring, and suitable accessories.
- Treat trailer weight, tongue weight, payload, and range as connected limits.
- Choose professional installation if bumper removal or electrical work exceeds your skills.
- Inspect the hitch, wiring, tires, and trailer connections before every trip.
Match the tow hitch kit to your Tesla model
Choosing a tesla tow hitch kit is not simply a matter of finding a receiver that fits beneath the bumper. Tesla models and production years can differ in mounting points, electrical provisions, software support, and approved towing limits. Start with the vehicle identification details and the owner documentation, rather than relying on a listing that only names the model family.
Model-specific compatibility requirements
The first check is whether the hitch was designed for your exact model and body configuration. Confirm the model name, production year, drivetrain, and any regional differences before comparing prices. A receiver that physically mounts to one version may still lack the correct wiring or approval for another.
The Tesla Model Y guide is a useful example of why these details matter: its coverage distinguishes the tow package, receiver, trailer harness, and Trailer Mode rather than treating the hitch as an isolated metal component. Use that same approach for your own vehicle, and verify every detail against current documentation.
Factory, aftermarket, and removable hitch options
A factory package generally offers the strongest assurance that the receiver, wiring, and vehicle settings were considered together. An aftermarket system may be practical for a bike rack or cargo carrier, but its included hardware, instructions, corrosion protection, and electrical compatibility need close inspection. A removable receiver can keep the rear profile tidy when the hitch is not in use, although removal should never substitute for checking the mounting system.
One installation diary describes a Torklift EcoHitch fitted to a Model Y for carrying bikes, while also contrasting that setup with a factory package that included trailer-related equipment. That account is one owner’s experience, not a universal recommendation; the useful lesson is to compare the whole kit, not just the receiver price.
Checking vehicle year, trim, and tow package differences
Before ordering, photograph or record the vehicle identification label and compare it with the kit’s fitment chart. Check whether a tow package was factory-installed, added later, or omitted entirely. Also ask whether the kit requires software activation, a specific harness, or a separate ball mount.
Keep receipts and installation instructions with the vehicle records. If a seller’s compatibility language is vague, pause and obtain a written confirmation that names the exact year and trim. That small step is easier than returning a heavy, partially installed hitch.
Understand what a complete tow hitch kit includes
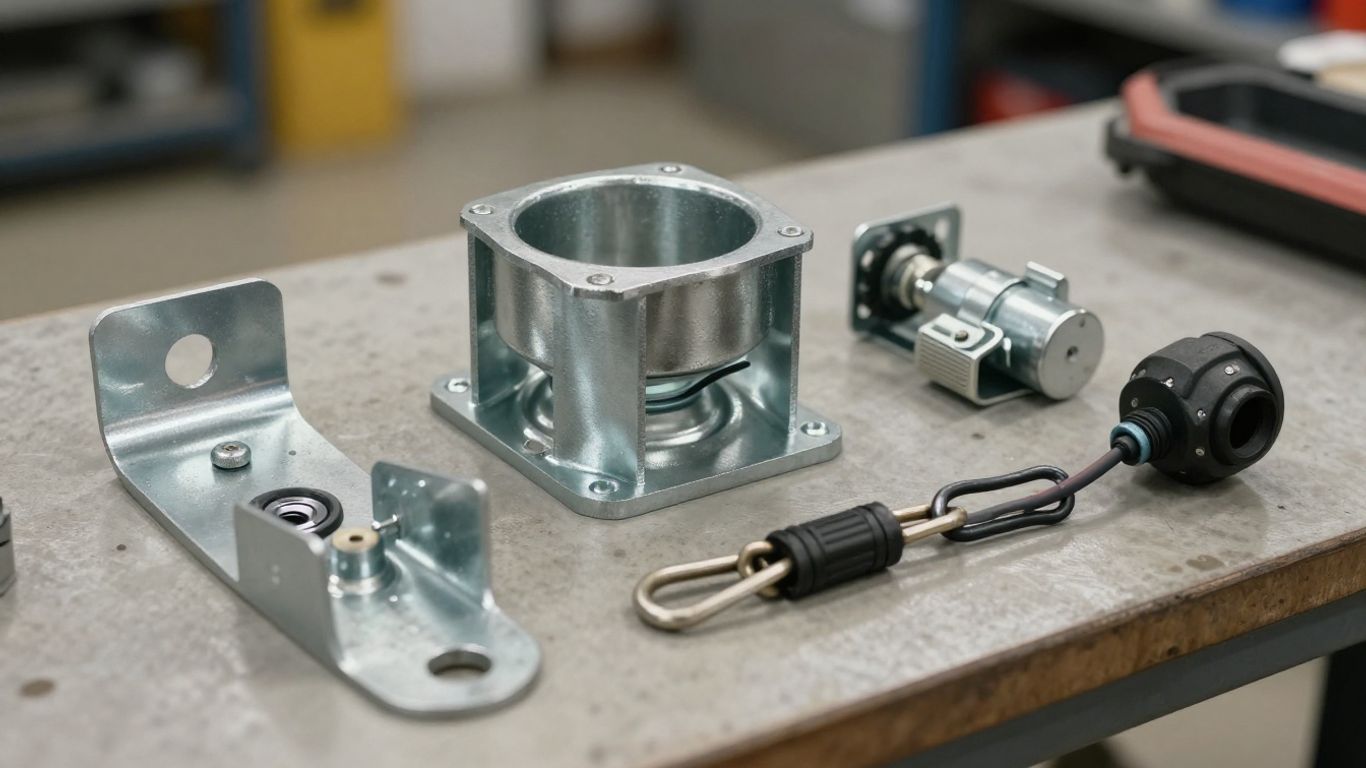
A receiver alone is only the visible part of a towing system. A complete setup may also need structural brackets, fasteners, wiring, a ball mount, a tow ball, safety-chain attachment points, and adapters. Lay every component out before installation so missing parts are found while the kit is still returnable.
Hitch receiver and mounting hardware
The receiver should arrive with the brackets and fasteners intended for the vehicle’s mounting points. Check the receiver size, finish, access to the pin hole, and clearance around the bumper before tightening anything. Hardware that looks similar is not automatically interchangeable, particularly where bolt grade, length, or tightening procedure is specified.
Read the installation sequence from beginning to end. Some systems require temporary removal of trim or bumper components, and the order can affect both alignment and the final fit of the fascia.
Wiring harness and trailer lighting components
Trailer wiring must connect the vehicle to the trailer’s running lights, brake lights, and turn signals without loose contacts or exposed conductors. Identify the connector type supplied with the kit and determine whether an adapter is needed for the trailer you intend to use. A neat harness route should avoid sharp edges, heat sources, moving suspension parts, and places where road spray collects.
Do not assume that a working receiver means the lights are ready. Test each function with the trailer connected, and use a suitable tester if the trailer is unavailable. Electrical faults are easier to correct before the first loaded trip.
Tow ball, safety chains, and accessory adapters
The ball mount and tow ball must match the trailer coupler, receiver size, required rise or drop, and rated load. Safety chains need secure attachment points and enough slack for turns without dragging. For racks and cargo carriers, use the adapter specified for the receiver and check whether the accessory has its own weight limit.
A kit can be described as complete while still excluding the ball mount because that part depends on the trailer. Make a short parts inventory before purchase, then confirm the ratings of every link in the connection rather than focusing only on the receiver.
Compare towing capacity and compatibility limits
Towing capacity is not one number that applies to every use. The permitted trailer mass, tongue weight, vehicle payload, accessory load, tire rating, and road conditions all influence what is sensible. The lowest applicable limit controls, even when the hitch itself carries a higher rating.
Maximum trailer weight and tongue weight
Trailer weight includes the trailer and its contents, not just the empty trailer shown in a brochure. Tongue weight is the downward force placed on the hitch, and it changes as cargo moves. Consult the vehicle and hitch documentation for both figures, and use a scale when the load is close to the limit.
A guide covering the refreshed Model Y describes a tow-package rating of up to 3,500 pounds on all-wheel configurations, but that figure should be treated as a model- and configuration-specific reference, not a blanket rule for every Tesla. Confirm the current limit for your vehicle before towing.
Hitch-mounted bike racks and cargo carriers
Bike racks and cargo carriers do not pull a trailer, but they still place a vertical load on the receiver and alter the vehicle’s balance. Measure the combined weight of the rack and cargo, account for the distance from the receiver, and check clearance around the hatch, sensors, and rear lamps.
The same Model Y guide describes a 2-by-2-inch receiver with a vertical-load limit of up to 160 pounds. That information belongs to the configuration discussed in that guide; it should not be transferred to another model or hitch without confirmation.
How wheels, tires, payload, and passengers affect capacity
Passengers, luggage, charging equipment, and hitch accessories all consume payload. Larger or differently rated wheels and tires can change handling, clearance, or the appropriate tire pressure, while a heavy trailer adds heat and braking demands. A careful capacity check therefore includes the whole loaded vehicle, not merely the trailer’s advertised weight.
Use a simple comparison table before departing. It forces the main quantities into view and makes an optimistic estimate less likely.
| Item to verify | Why it matters | Where to confirm |
|---|---|---|
| Trailer weight | Determines the pulling and braking demand | Vehicle and trailer documentation |
| Tongue weight | Loads the receiver and rear axle | Hitch and vehicle specifications |
| Total payload | Includes passengers, luggage, and accessories | Vehicle documentation and scale |
| Tire rating and pressure | Affects load support and handling | Tire sidewall and vehicle guidance |
The table is a planning aid, not permission to exceed a limit. If any figure is uncertain, reduce the load or obtain a definitive specification before connecting the trailer.
Decide between DIY installation and professional fitting
Installing a hitch can range from a straightforward bolt-on task to a substantial job involving underbody panels, rear trim, bumper removal, and electrical routing. The right choice depends on the exact kit and your experience, not only on the number of bolts. A clean installation should finish with secure mounting, correct clearance, and fully tested lighting.
Tools and skills required for installation
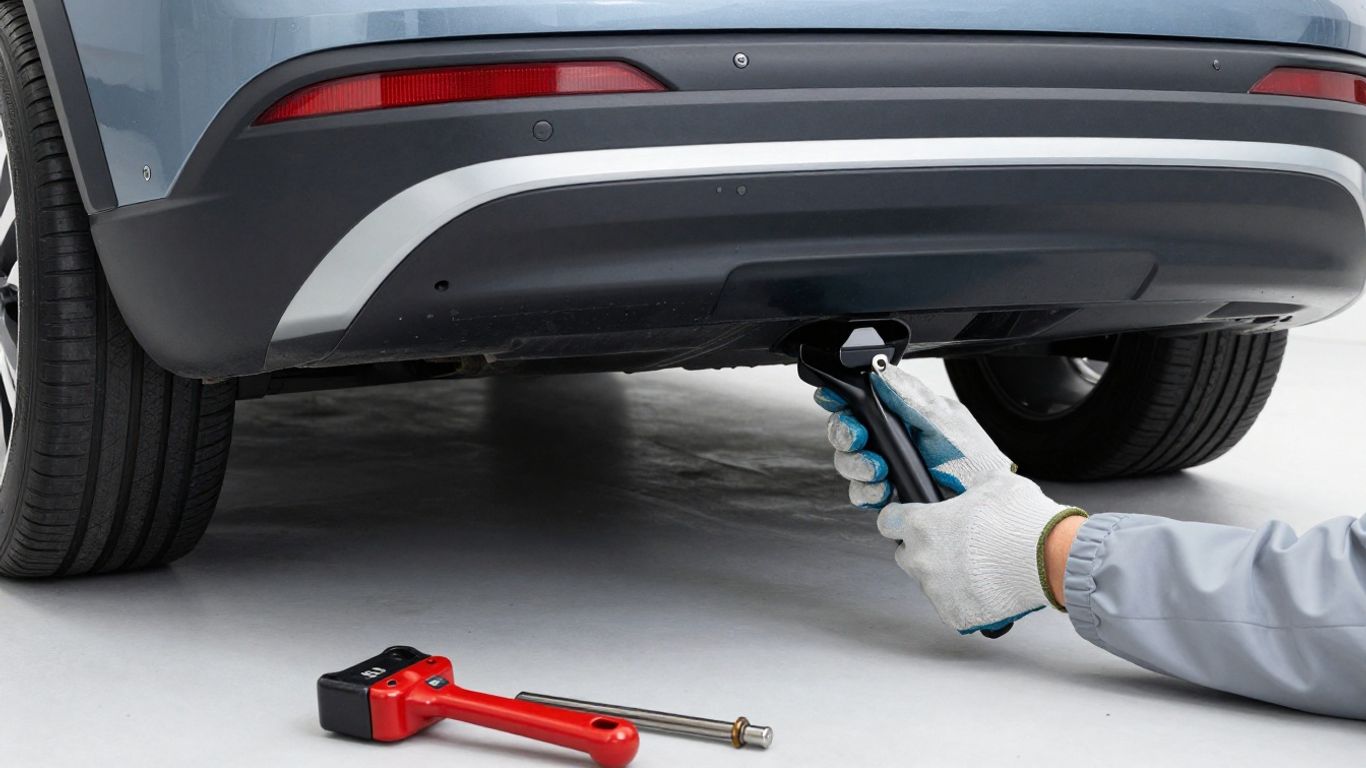
Expect to need a stable work area, vehicle-safe lifting equipment, hand tools, torque tools, trim-removal tools, and a way to protect painted surfaces. The instructions may specify socket sizes, tightening sequences, replacement clips, or a particular torque value. If you cannot verify torque or safely support the vehicle, DIY fitting becomes a poor gamble.
Electrical work adds another layer. You should be comfortable routing and securing a harness, checking continuity, and protecting connectors from water and abrasion without improvising connections.
Removing trim panels and accessing mounting points
Rear bumper and trim work calls for patience. Clips can be hidden, painted edges can be scratched, and forcing a panel often turns a small job into a repair. Keep fasteners organized by location and take photographs as you work so the reassembly sequence is clear.
Before final tightening, loosely fit the receiver and inspect its alignment with the bumper opening. Recheck that the harness is not pinched and that the removable cover, if present, can be refitted without contacting the receiver.
When professional installation is the safer choice
Professional fitting is sensible when the instructions require extensive disassembly, when the vehicle is new enough that cosmetic damage would be especially costly, or when you need trailer wiring and vehicle settings checked together. It is also worthwhile when the hitch will carry a trailer rather than only a light accessory.
Ask the installer what parts are included, whether the mounting bolts are torqued to specification, and how the lighting connection will be tested. Keep the invoice and any installation notes; they can help with later troubleshooting.
Prepare your Tesla for towing
Preparation should happen before the trailer is loaded, not in a parking lot five minutes before departure. Connect the trailer on level ground, allow enough time for a complete light check, and inspect the hitch from underneath. The goal is to catch a loose pin, damaged cable, or unexpected vehicle warning while there is still time to fix it.
Configuring trailer-related vehicle settings
Use the vehicle’s documented trailer-related settings when available and confirm what changes when towing is enabled. These settings may affect driver assistance, stability behavior, or other functions, so read the instructions rather than assuming the car will configure itself.
If the vehicle recognizes a trailer automatically, still confirm the indication on the screen. A detected connection is not proof that every lamp or mechanical attachment is correct.
Checking brake lights, turn signals, and connections
A helper can stand behind the trailer while you activate each lighting function. Check the running lights, left and right indicators, brake lights, and any auxiliary lamps. Then inspect the connector for full engagement, a locking tab, and enough slack for turning without hanging low.
A repeatable check is easier when it follows the same sequence every time:
- Confirm the receiver pin and clip are fully seated.
- Check the ball mount and coupler are locked together.
- Test running lights, indicators, and brake lights.
- Secure safety chains and keep wiring clear of the road.
After the test, walk around once more. That final visual pass often catches a cable resting against a tire or a chain dragging below the hitch.
Inspecting hitch security before every trip
Look for movement between the receiver and vehicle, missing hardware, fresh scratches around mounting points, or a pin that has shifted. Check the coupler latch and safety-chain connections as well. A pre-trip inspection should be repeated after the first short drive, when vibration may reveal a problem that was not visible at the start.
Do not tow with an unexplained warning, damaged connector, or loose attachment. Stop, unload if necessary, and resolve the issue before continuing.
Tow safely with a Tesla hitch setup
A trailer changes acceleration, braking, cornering, and energy use. Electric drive can make a loaded start feel smooth, but smooth acceleration does not remove the extra mass behind the vehicle. Leave more room, slow earlier, and make the first trip a short one in familiar conditions.
Balancing trailer load and tongue weight
Place heavier cargo low and near the trailer axle, then secure it so it cannot shift during braking. Too little tongue weight can make a trailer sway, while too much can overload the rear of the vehicle and reduce steering confidence. Use the trailer manufacturer’s loading guidance along with the vehicle and hitch limits.
Check the loaded trailer on level ground. If it sits nose-high, sways, or feels unstable, do not try to correct the problem with speed; rearrange the load or seek advice.
Managing range, charging, and route planning
Towing increases energy consumption, often substantially, because of extra mass and aerodynamic drag. Plan charging stops with more margin than usual, and check whether the route offers enough space to maneuver and park with the trailer attached. Weather, hills, headwinds, payload, and speed can all reduce the distance available between charges.
Keep a backup charging option in mind and avoid making the final stop depend on arriving with almost no reserve. A slower, more deliberate route is usually easier than improvising beside a crowded charger.
Driving, braking, and reversing with a trailer
Accelerate gently, brake earlier, and use wider turns where necessary. Check mirrors frequently and remember that the trailer tracks inside the vehicle’s path during a turn. Reverse in small corrections, with a guide outside whenever visibility is limited.
Avoid abrupt lane changes and high speeds, especially if the trailer begins to sway. If sway develops, hold the steering steady, ease off the accelerator, and follow the vehicle and trailer instructions for bringing the combination under control.
Maintain and troubleshoot your tow hitch kit
Maintenance is mostly inspection, cleaning, and early correction. Road salt, grit, rain, and repeated loading can affect both metal parts and electrical contacts. A few minutes after a trip can reveal wear that would otherwise become a failure on the next one.
Inspecting bolts, receiver openings, and wiring
Look over accessible bolts for movement, damaged heads, corrosion, or fresh marks around the mounting areas. Examine the receiver opening for deformation and make sure the pin passes cleanly through the accessory. Inspect the harness for cuts, crushed sections, loose retainers, and contact with hot or moving components.
Follow the kit instructions for any torque recheck or service interval. Do not replace a specified fastener with a convenient substitute, and do not drill or modify the receiver to make an accessory fit.
Preventing rust, dirt, and connector damage
Keep the receiver opening covered when it is not in use, especially in wet or dusty conditions. Clean dirt from the pin and accessory shank before insertion, and protect electrical connectors with the product recommended by the connector or vehicle documentation. Avoid trapping water beneath a cap or forcing a dirty plug together.
After driving on salted roads, rinse exposed hitch components and allow them to dry. Surface rust is easier to manage before it affects fasteners or prevents an accessory from seating fully.
Diagnosing common lighting and fitment problems
If one lamp fails, begin with the simplest possibilities: a loose plug, dirty contacts, a blown trailer fuse, or a failed lamp. If all functions fail, inspect the vehicle-side connection, harness ground, and any adapter before assuming the hitch itself is defective. Intermittent faults often point to movement, water entry, or a connector that is not locked.
For fitment problems, remove the accessory and check the receiver for debris, bent metal, or an incorrect pin size. Persistent electrical warnings or structural movement deserve professional diagnosis rather than repeated resets.
Conclusion
The right tesla tow hitch kit is the one that matches the vehicle precisely, includes the equipment your use requires, and remains within the combined limits of the car, hitch, tires, payload, and trailer. Careful installation and a consistent inspection routine turn that decision into a safer, more predictable setup.
Frequently Asked Questions
Can any tow hitch fit any Tesla model?
No. Fitment depends on the model, year, trim, mounting points, receiver design, wiring, and sometimes vehicle software. Confirm the exact configuration before purchasing.
Is a factory hitch better than an aftermarket hitch?
Neither is automatically best for every owner. Compare the complete contents, ratings, installation method, wiring support, documentation, and intended use rather than judging by receiver price alone.
Do I need trailer wiring if I only use a bike rack?
Usually, a rack that does not tow a trailer does not need trailer-light wiring, but the rack still needs to match the receiver and its vertical-load limit. Follow the rack and vehicle instructions.
How do I know the trailer is loaded correctly?
Keep heavy cargo low, secure it, and distribute it so the trailer has appropriate tongue weight without exceeding any vehicle, hitch, axle, or trailer limit. Recheck the load after a short drive.
Does towing reduce driving range?
It can. Added mass, aerodynamic drag, hills, wind, weather, and speed all affect energy use, so plan charging with a larger reserve than you would for an unloaded trip.
What should I check before every towing trip?
Inspect the receiver, pin, coupler, safety chains, wiring, tires, lights, and load security. Confirm that any trailer-related vehicle setting is configured as directed.
When should a hitch installation be done professionally?
Choose professional fitting when the job requires extensive trim or bumper removal, specialized lifting or torque tools, unfamiliar electrical work, or when you cannot verify the final mechanical and lighting checks.