

Key Takeaways
A good brake upgrade starts with the way the car is actually driven, not with the largest parts list available. The right setup improves consistency while preserving predictable street manners.
- Match the upgrade to street, spirited, or track driving.
- Consider tires, wheel clearance, vehicle weight, and regenerative braking together.
- Choose pads, rotors, fluid, and lines as a compatible system.
- Install and bed components carefully before judging their performance.
- Monitor heat, wear, noise, vibration, and replacement costs over time.
Understanding when Tesla performance brake upgrades make sense
Tesla performance brake upgrades can make sense when repeated braking produces fade, a soft pedal, or inconsistent response. They can also be useful when a driver changes tires, attends track days, or regularly drives steep roads. A larger or more aggressive part is not automatically better for ordinary commuting, though; comfort, noise, dust, and cold performance matter too.
Street driving versus spirited driving and track use
Daily street driving usually rewards a quiet pad with predictable friction across a wide temperature range. Spirited road driving places more emphasis on heat control, while track use demands a setup chosen around repeated high-energy stops and the correct track-capable consumables. Separating those use cases prevents an unnecessarily harsh setup from becoming tiring in normal traffic.
How vehicle weight and instant torque affect braking demands
An electric vehicle can carry substantial mass, and quick acceleration can bring the car to high speed before the next braking zone arrives. Braking energy rises sharply with speed, so repeated stops can challenge the pads and rotors even when a single stop feels completely normal. The practical question is not simply whether the brakes stop the car once, but whether they repeat that performance without excessive heat buildup.
Signs that the factory braking system needs improvement
A long or soft pedal, a burning smell after repeated stops, visible pad taper, and a noticeable drop in braking response are meaningful warning signs. So are vibration under braking and a pedal that changes feel from one run to the next. Before buying parts, rule out worn pads, contaminated friction surfaces, old fluid, seized hardware, and tire problems; an upgrade cannot compensate for a fault.
How tire, suspension, and alignment choices influence braking performance
The tires are the contact patch, so their grip and temperature behavior strongly influence stopping distance. Suspension condition and alignment affect how evenly the tire remains loaded during braking, especially over uneven pavement. A brake kit paired with unsuitable tires may produce a firmer pedal without delivering the expected real-world stop.
Choosing the right brake upgrade components
Brake components work as a system. Pads determine much of the initial bite and operating range, rotors manage friction and heat, fluid supports pedal consistency, and lines influence hydraulic feel. Before comparing parts, establish the car’s wheel fitment and intended use; the Tesla brake upgrade collection can serve as one example of how kits and individual components are commonly grouped for shoppers.
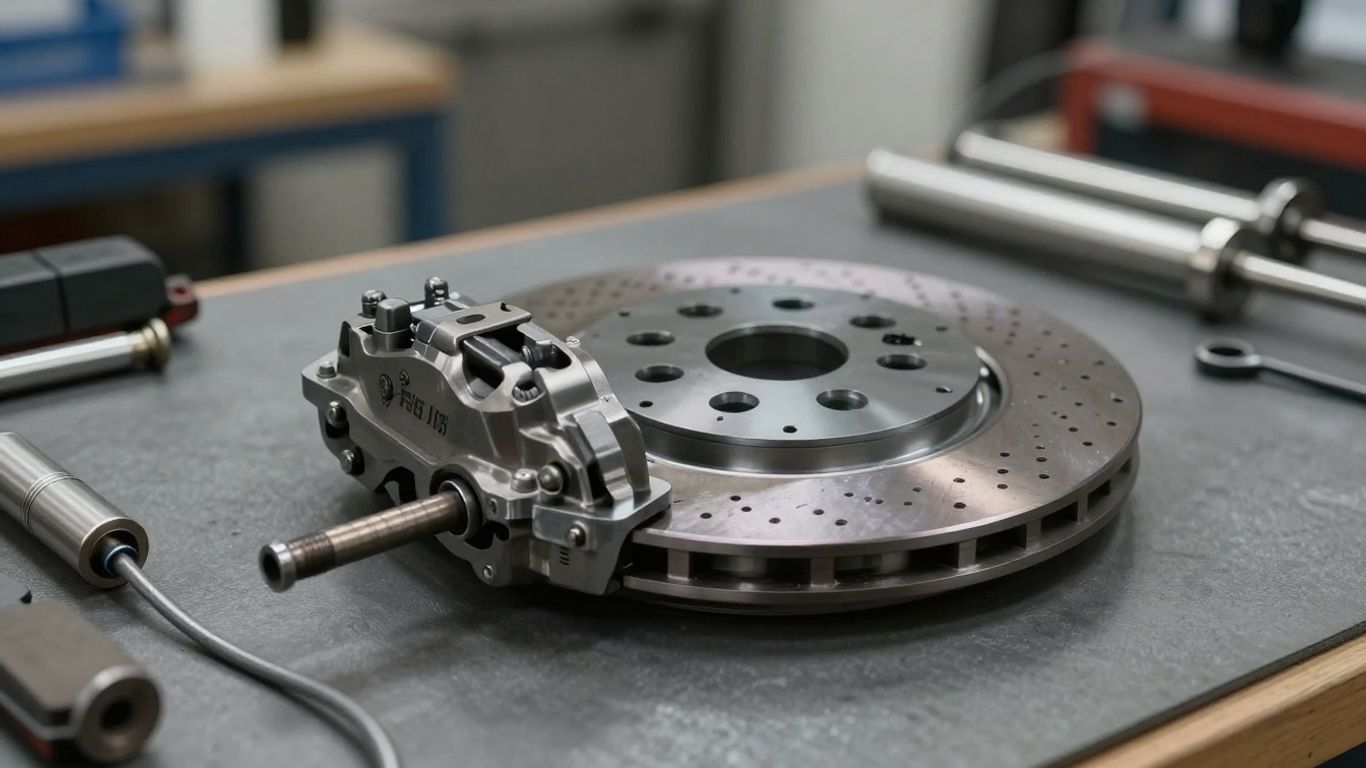
The most expensive component is not always the most useful one. A carefully selected pad and fluid combination may be enough for a street-driven car, while repeated track sessions can justify greater thermal capacity.
Performance brake pads for bite, fade resistance, and daily comfort
Pad compounds trade initial bite, high-temperature stability, noise, dust, and rotor friendliness. A street performance pad may offer stronger response while remaining civil in traffic, whereas a track-oriented compound may work poorly when cold or create more noise. Use the manufacturer’s temperature range and application guidance rather than judging a compound by its friction label alone.
Two-piece and slotted rotors for heat management
Two-piece rotors can reduce unsprung weight while allowing the friction ring and hat to serve different functions. Slotted faces may help maintain a clean pad interface, but slots do not eliminate the need for adequate rotor mass and cooling. Rotor thickness, vane design, material quality, and correct bedding all influence how well the assembly handles heat.
Big brake kits and larger calipers for demanding applications
A big brake kit can combine larger rotors, different calipers, brackets, and application-specific hardware. Its value is greatest when the limiting factor is thermal capacity or when the driver needs a particular pedal and pad configuration. The Model 3 brake kit guide illustrates the kind of specification comparison buyers should make, including caliper configuration, rotor style, size, and wheel compatibility.
Stainless steel brake lines and high-temperature brake fluid
Stainless steel lines may make the pedal feel more direct when the original flexible lines are old or prone to expansion. High-temperature fluid helps maintain hydraulic consistency during demanding use, but it still absorbs moisture and requires service. Lines must be routed without kinks or rubbing, and fluid selection should follow the system’s requirements rather than a headline boiling-point number alone.
Matching front and rear braking capacity
The front axle generally handles a greater share of the load during hard braking, but the rear system remains part of the vehicle’s balance and stability strategy. Increasing front capacity without considering rear behavior can alter pedal feel and brake bias. Choose a matched package when possible, and retain electronic controls and factory safety systems as intended.
Comparing Tesla model compatibility and fitment
Tesla brake layouts vary by model, wheel package, production year, and equipment level. Fitment is more than rotor diameter: caliper shape, mounting points, hub dimensions, sensor arrangements, and parking-brake hardware can all matter. Confirm the exact vehicle configuration before ordering, then compare the maker’s application data with the physical car.
Model 3 and Model Y upgrade considerations
Model 3 and Model Y owners should verify whether the proposed parts fit the specific axle and wheel package rather than assuming shared model-family compatibility. The Model 3 brake collection shows why pads, rotors, and complete kits are often treated as separate choices. That distinction is useful when a driver needs a modest improvement instead of a complete conversion.
Model S and Model X brake system differences
Model S and Model X can differ in mass, wheel dimensions, brake hardware, and intended load. A component suitable for one model should not be carried over to the other without explicit fitment confirmation. Check the vehicle identification information, production details, axle position, and replacement-part references before making comparisons.
Checking wheel diameter, spoke clearance, and offset
Wheel diameter alone does not guarantee clearance. Caliper height, width, spoke shape, barrel profile, and wheel offset can create interference even when the nominal diameter appears sufficient. A proper template check or documented clearance drawing is safer than relying on photographs or another owner’s setup.
Verifying caliper, rotor, and electronic parking brake compatibility
Confirm rotor diameter, thickness, hat geometry, caliper mounting, pad shape, and any electronic parking-brake arrangement. Also check whether the upgrade changes the location or operation of sensors and whether special brackets are included. If the documentation is unclear, pause the installation and ask a qualified technician to verify the application.
Understanding regenerative braking limitations and interactions
Regenerative braking can slow the vehicle without using the friction brakes in the same way as a conventional car. That means upgraded friction hardware may see less use during ordinary driving, while emergency or sustained downhill braking still depends on the mechanical system. Drivers should not assume that stronger friction components increase regenerative capability; the two systems have different functions.
How to select a Tesla performance brake setup
Selection becomes easier when the decision is framed around use rather than appearance. Write down the driving conditions, acceptable noise and dust, wheel constraints, and a realistic parts-and-labor budget. The Tesla performance brake options offer one example of a product category organized around model-specific performance parts, but every purchase still requires independent fitment checking.
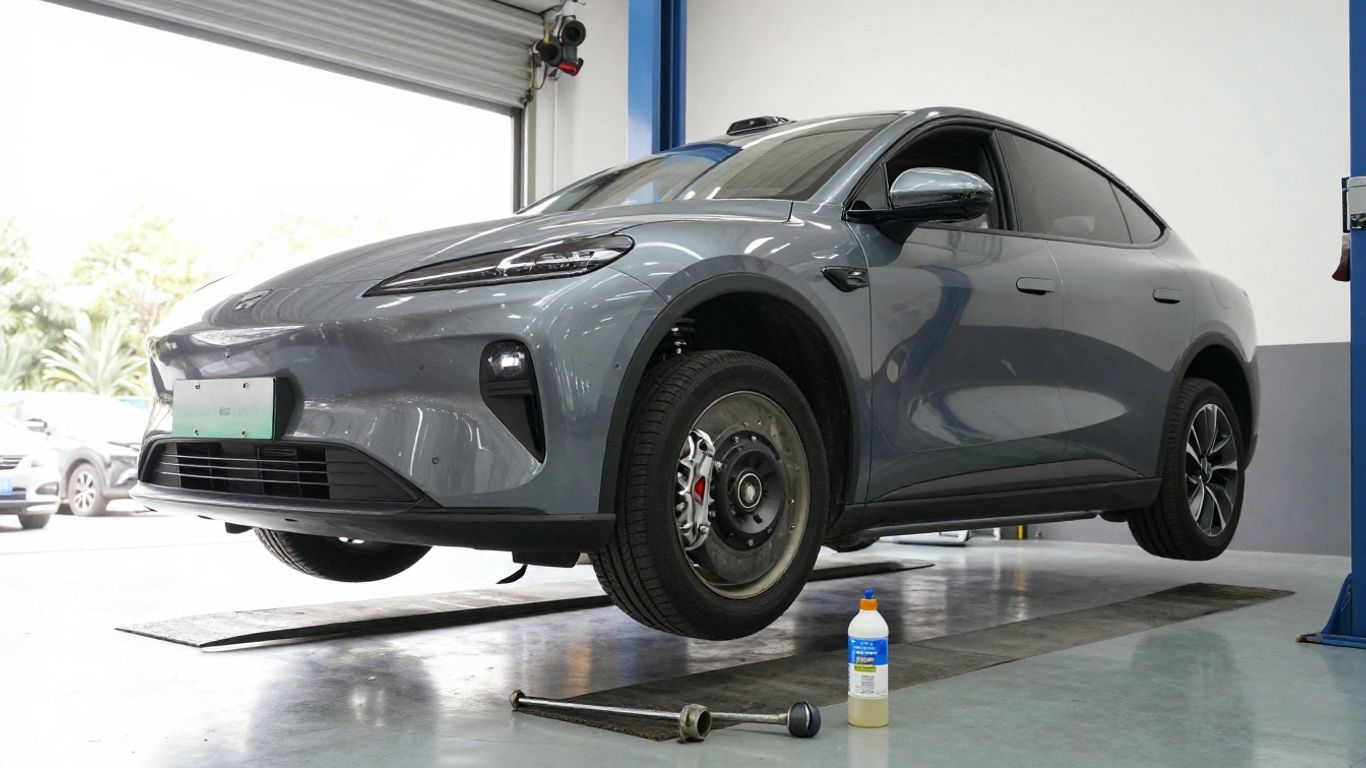
A useful setup is one that remains consistent and serviceable after the initial installation. Before committing, compare consumable availability and installation support alongside the headline specifications.
Defining braking goals, driving conditions, and budget
Decide whether the goal is stronger initial bite, less fade, a firmer pedal, lower weight, or simply fresh hardware. A commuter, mountain-road driver, and track user may need three different answers. Budget for fluid, bedding time, possible wheel changes, and future pad and rotor replacement rather than treating the purchase price as the entire cost.
Balancing stopping power, pedal feel, noise, and dust
More aggressive friction is not free. It can bring more dust, squeal, rotor wear, or an abrupt pedal response that feels less pleasant in traffic. Consistent pedal feel matters more than an impressive first application, particularly when the car is used by several drivers or in changing weather.
Comparing pad compounds and rotor materials
Compare compounds by their working temperature, cold behavior, wear rate, noise, and intended surface. Rotor choices should be assessed by construction, vane design, mass, corrosion resistance, and replacement cost. The best pairing keeps both parts within their useful operating range instead of asking a mild street pad to behave like a dedicated competition compound.
Evaluating branded big brake kits versus individual components
A complete kit can simplify compatibility because its parts are selected to work together, while individual components may suit a driver who wants a targeted change. Treat published testing as evidence for that particular product and test method, not as a universal promise. For example, the Page Mill 365mm kit is presented with specific rotor dimensions, construction, and testing claims; those details should be weighed against the buyer’s own use case.
Confirming certification, warranty, and replacement-part availability
Read the installation instructions, warranty exclusions, road-use requirements, and replacement-part listings before ordering. Confirm that seals, brackets, rotors, pads, and hardware can be purchased separately when appropriate. A setup that is easy to service locally may be more practical than one with slightly higher theoretical capacity but uncertain future support.
Installing and bedding in upgraded Tesla brakes
Installation quality determines whether the selected hardware performs as intended. Work from a clean, level surface with the correct tools, and follow the instructions for the exact application. Brake work is safety-critical, so uncertain steps should be handled by a qualified professional rather than improvised in the driveway.
Inspecting the existing braking system before installation
Record pad thickness, rotor condition, hose condition, caliper movement, and wheel-end cleanliness before removing anything. Look for leaks, damaged dust boots, uneven wear, and corrosion around mounting surfaces. If the original system has a mechanical or hydraulic fault, repair it first so the new parts have a sound foundation.
Following correct torque specifications and installation procedures
Clean hub faces and mating surfaces, install hardware in the specified order, and use a calibrated torque wrench. Do not substitute generic fasteners or guess at torque values. After assembly, confirm that the rotor turns freely, the pads move correctly, and hoses or wires cannot contact the wheel, rotor, or suspension through the full range of movement.
Flushing and bleeding the brake fluid safely
Use the specified fluid from a sealed container and protect painted surfaces from spills. Bleed the system according to the vehicle and equipment procedure, checking the reservoir level throughout. A firm pedal at rest is necessary but not sufficient; inspect for leaks and verify operation at low speed in a controlled area.
Bedding pads and rotors for consistent friction
Bedding transfers an even friction layer and gradually brings the new surfaces through their operating range. Follow the pad and rotor maker’s procedure, using controlled stops with appropriate cooling intervals rather than repeated panic braking. Afterward, allow the brakes to cool as directed and avoid holding the pedal down while the system is extremely hot.
Checking for warning lights, rubbing, vibration, and uneven wear
Complete a careful post-installation check before normal driving. Warning lights, scraping, steering shake, pulling, or a rapidly changing pedal require immediate inspection. A short low-speed test can reveal simple fitment problems, but it should never be used to dismiss a symptom that persists.
Maintaining and optimizing upgraded Tesla brakes
An upgraded system still needs ordinary maintenance. Friction material wears, fluid ages, rotors develop surface changes, and hardware can loosen or corrode. Keeping simple records of mileage, pad measurements, fluid service, and demanding driving makes changes easier to identify before they become expensive.
Monitoring pad thickness, rotor condition, and fluid quality
Inspect pads for even wear across the face and between the inner and outer positions. Measure rotor thickness against its minimum specification and look for cracks, deep grooves, heat marks, or an uneven transfer layer. Fluid color alone is not a reliable test, so follow a time- or condition-based service plan.
Managing brake heat during repeated hard stops
Repeated braking needs cooling time, suitable speed management, and a pad and rotor combination designed for the task. Avoid carrying unnecessary load into a long downhill sequence, and use a cooling lap or gentler pace when conditions allow. If the pedal changes or the friction response falls away, stop pushing and investigate rather than trying to drive through the fade.
Adjusting driving habits around regenerative braking
Because regenerative braking may do much of the routine slowing, friction brakes can receive less regular use than expected. Periodic controlled use at safe speeds can help keep the mechanical system active, but it should never be aggressive or performed where traffic makes it unsafe. Smooth anticipation also reduces heat and makes the transition between regenerative and friction braking easier to feel.
Diagnosing squeal, judder, pulling, and reduced pedal feel
Squeal may relate to pad compound, surface condition, hardware, or temperature. Judder can come from uneven friction transfer, rotor variation, wheel torque, or suspension play; pulling may point to uneven pad action, tire differences, or a sticking caliper. A reduced pedal can indicate air, fluid problems, leaks, hose expansion, or another fault, so diagnosis should precede replacement.
Planning service intervals and replacement costs
Set inspection points around mileage, seasonal use, and the intensity of driving rather than assuming every component wears at the same rate. Keep the cost of pads, rotors, fluid, hardware, labor, and possible wheel changes in the plan. Useful maintenance habits often include a brake inspection checklist for documenting symptoms and a clear record of what was replaced and when.
For drivers researching vehicle ownership more broadly, unrelated online guides can sometimes appear beside automotive results, from Motyv Liberate Program resources to LANLocksmith.com service directories and CLAPS – RATING Engineering software pages. They are separate subjects, so they should not be confused with brake-system guidance; careful source selection is part of making a sound upgrade decision.
Conclusion
The best Tesla performance brake upgrades are chosen around real driving demands, verified for exact fitment, installed with care, and maintained with the same discipline as the rest of the vehicle. Start with tires, heat, pedal consistency, wheel clearance, and service support, then select only the hardware that solves a demonstrated need.
Frequently Asked Questions
Do Tesla performance brake upgrades shorten stopping distance?
They can improve consistency and fade resistance, but stopping distance also depends heavily on tires, surface conditions, temperature, and driver input. A stronger brake system does not remove those limits.
Are larger brakes necessary for everyday commuting?
Usually not. Daily drivers may benefit more from fresh, correctly maintained factory hardware or a street-oriented pad than from a large, aggressive kit designed for repeated high-energy stops.
Should I upgrade pads or rotors first?
That depends on the diagnosed limitation. Pads may address feel and friction behavior, while rotors may be necessary for heat capacity, wear, or surface condition. Inspect the entire system before choosing one.
Will upgraded friction brakes increase regenerative braking?
No. Regenerative braking is controlled through the vehicle’s electric drive system. Friction upgrades affect the mechanical brakes and do not automatically change how much energy regeneration provides.
How do I know whether a brake kit fits my wheels?
Check the kit’s documented wheel diameter, spoke, barrel, offset, and caliper-clearance requirements. A physical template or verified clearance drawing is more dependable than nominal wheel diameter alone.
How long do performance brake pads last?
Service life varies with compound, traffic, vehicle mass, temperature, driving style, and regenerative-braking use. Measure them regularly rather than relying on a fixed mileage promise.
Can I install a brake upgrade myself?
Experienced owners with the correct tools and documentation may be able to do so, but brakes are safety-critical. If torque procedures, bleeding, fitment, or electronic systems are uncertain, use a qualified technician.