

Key Takeaways
A good Tesla screen protector film should fit the exact display, suit the way you drive, and be installed on a genuinely clean surface.
- Confirm the screen size, model year, and refresh before ordering.
- Choose glass or flexible film based on protection, feel, and installation preference.
- Pick matte or clear finish according to glare, fingerprints, and visual priorities.
- Take time with cleaning and alignment; most installation problems begin there.
- Replace a protector when scratches, lifting edges, or haze interfere with use.
Understand Tesla screen protector film options
The phrase Tesla screen protector film covers several different products, from rigid tempered glass to thin flexible sheets. They can look similar in a product photograph, yet feel quite different under a fingertip and behave differently during installation. Start by deciding what you want the protector to do before comparing packaging claims.
A protector is also part of the cabin experience. It should preserve comfortable viewing and accurate touch control rather than becoming another distraction on the road.
Tempered glass versus flexible film
Tempered glass generally offers a firm, smooth surface and a more substantial feel. Flexible film is thinner and can be easier to position around slight curves, while some drivers prefer its lighter visual presence. A film or glass protector cannot prevent every kind of damage, so judge the trade-off between impact resistance, thickness, and ease of replacement.
Matte, clear, and anti-glare finishes
Clear finishes keep the display close to its original appearance, which suits drivers who prioritize contrast and crisp detail. Matte finishes scatter reflections and can make fingerprints less obvious, although they may add a faint texture or soften the image slightly. Anti-glare wording should still be read carefully: the result depends on the cabin light, viewing angle, and surface coating.
Compatibility across Tesla models and screen sizes
Compatibility is more than choosing “Tesla” from a dropdown menu. Screen dimensions, trim shape, camera openings, bezels, and the number of displays can vary by model and production period. A product page such as this screen protector collection can be useful for comparing listed model coverage, but the final check should be made against your own vehicle.
Single-screen and multi-screen protection
Some kits cover one central display, while others include front and rear touchscreens. Decide whether you are protecting only the screen used most often or want a consistent finish throughout the cabin. A multi-screen pack may also reduce the chance of mixing slightly different textures between displays.
Match the protector to your Tesla model
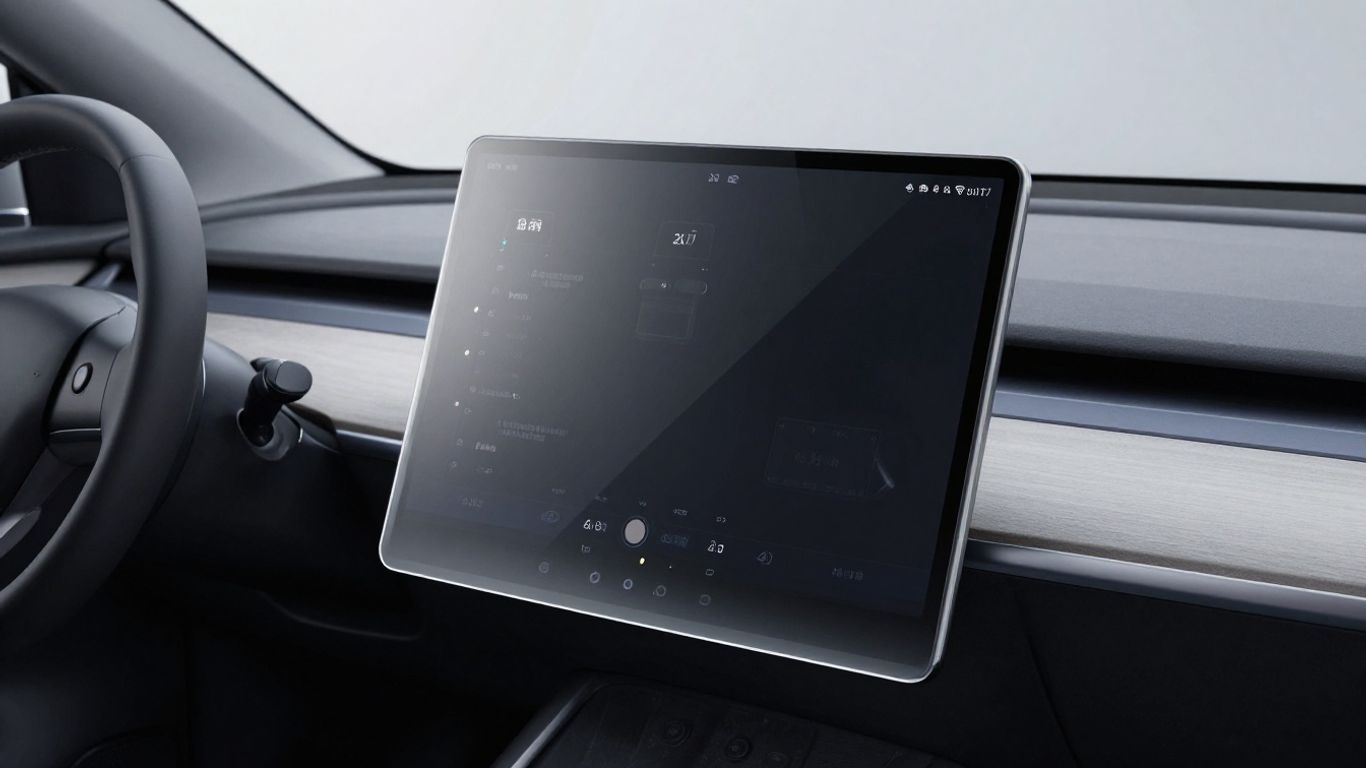
Fitment deserves attention before finish or price. Even a well-made protector is a poor choice if its corners, cutouts, or proportions belong to another screen generation. Model name, model year, refresh, and screen position should all appear in the comparison.
Take a clear photograph of the display if you are uncertain, then compare its proportions with the seller’s diagrams. For broader vehicle glass decisions, a separate window tinting guide explains why model-specific measurements and installation planning matter.
Tesla Model 3 and Model Y considerations
Model 3 and Model Y protectors are often grouped together, but that does not make every listing interchangeable. Check whether the kit covers your screen revision and whether it is intended for a front display, rear display, or both. A Model 3 and Model Y protector pack is one example of a listing that identifies those two model families together, so its stated coverage still needs to be matched to your car.
Tesla Model S and Model X fitment
Model S and Model X interiors may use more than one touchscreen, making the word “screen” too vague for ordering. Check the dimensions and position of every included piece, especially if you want front and rear coverage. A Model S and Model X screen pack illustrates why the included screen locations should be read rather than assumed.
Refresh and facelift compatibility
A refresh can alter the display outline, mounting position, or surrounding trim without changing the model name. Treat “new” and “updated” as prompts to investigate, not as proof of compatibility. If the listing names a particular refresh, compare that wording with your vehicle’s build information before buying.
Checking dimensions before ordering
Measure the visible display area only if the manufacturer does not provide a reliable fitment chart, and do not confuse the outer bezel with the active screen. The following details are worth recording before checkout:
- Vehicle model and production year.
- Refresh, facelift, or interior generation.
- Front, rear, or driver-facing display location.
- Visible screen width and height.
Those notes make it easier to spot a mismatch before adhesive is exposed. They also give you a useful reference if a listing uses a broad model range without showing exact dimensions.
Evaluate the features that matter most
Once fitment is settled, compare the surface itself. Hardness ratings, coatings, optical claims, and edge design each address a different annoyance, so no single specification tells the whole story. Think about the screen’s daily environment: sunlight, passengers, keys, cleaning habits, and repeated touch.
A sensible choice is usually the one that removes the most likely nuisance without introducing a new one. For example, strong glare reduction may be worthwhile if reflections bother you, but less appealing if maximum clarity is your priority.
Scratch resistance and impact protection
Scratch resistance helps with ordinary contact from rings, keys, fingernails, and cleaning debris. Impact protection is a separate concern and depends on the protector’s construction, the force involved, and the screen beneath it. Do not treat a hardness number as a guarantee against every crack or mark.
Touch sensitivity and display clarity
The protector should respond consistently from the center to the edges of the display. A thick layer, poor adhesive, or trapped contamination can make taps feel uneven. Clear film and glass may preserve a sharper appearance, while matte surfaces can reduce reflections at the cost of a slightly different image texture.
Fingerprint resistance and easy cleaning
An oleophobic or similar surface treatment can make oils easier to wipe away, but it will not eliminate fingerprints. Use a clean microfiber cloth and avoid grinding dry grit across the display. For comparison, this Model 3 protector lists both a hardness rating and an oleophobic coating, showing how surface protection and cleaning comfort can appear as separate features in one listing.
Edge coverage and case compatibility
Coverage should reach close to the usable edge without pressing against surrounding trim. If the protector overlaps a raised bezel or another accessory, lifting can begin at the corners. Leave enough tolerance for normal cleaning and check whether any dashboard accessory could catch the edge.
Prepare the screen for installation
Installation quality begins before the backing is removed. Dust, fingerprints, and rushed alignment are responsible for many bubbles that later get blamed on the adhesive. Give yourself enough time to clean, dry-fit, and correct small errors while the protector is still movable.
A calm setup is more valuable than an elaborate one. The goal is a clean screen, stable lighting, and a clear view of all four edges.
Choosing a dust-free workspace
Park somewhere sheltered from wind, pets, and loose fabric fibers. A recently cleaned interior is better than a busy driveway, and slightly humid air can reduce floating dust in some rooms. Keep doors closed while you work and place the protector on a clean, flat surface.
Cleaning away fingerprints and residue
Turn the display off so smears and dust are easier to see against the dark surface. Use the cleaning materials recommended by the protector maker, then finish with a lint-free cloth. Avoid household sprays unless their instructions specifically make them suitable for coated electronic screens.
Gathering installation tools
Most kits include some combination of a microfiber cloth, dust-removal stickers, an alignment aid, and a squeegee. Set everything within reach before beginning, because searching for a tool after peeling the backing can expose the adhesive unnecessarily. Adjacent installation planning can also be informed by this solar panel selection guide, which similarly stresses checking requirements before committing to a component.
Checking alignment before removing the backing
Place the protector over the screen without exposing the adhesive and inspect the margins, cutouts, and corners. Look from the driver’s position as well as straight on. If the fit is not convincing while dry, it will not become easier once the adhesive is exposed.
Install the Tesla screen protector film
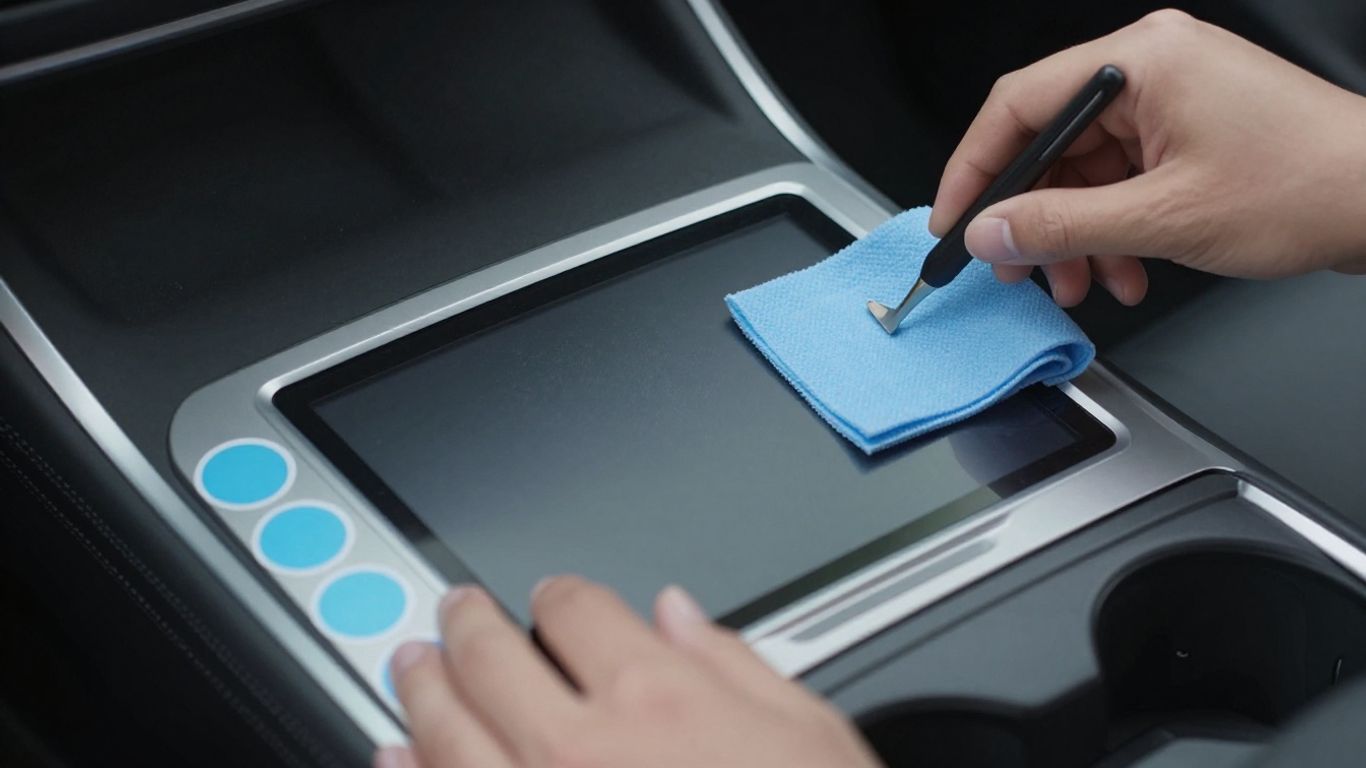
There is no need to rush the application. Dry installation keeps the screen free of moisture but demands careful dust control, while a wet method can offer more repositioning time when the product instructions allow it. Follow the method supplied with the specific protector rather than improvising with household liquids.
Work from one edge and keep the adhesive surface away from your fingers. Small, deliberate movements usually produce a cleaner result than trying to drop the whole protector into place at once.
Using dry and wet installation methods
Dry application is common for glass and many adhesive films: align one edge, lower the protector gradually, and use a squeegee to guide contact. Wet installation uses a small amount of approved solution to permit repositioning, but excess liquid near electronics is a serious risk. If the instructions do not describe wet application, use the dry method.
Aligning the protector with screen edges
Use the longest straight edge or a supplied tray as your reference. Check the side margins before pressing the center, then lower the protector slowly while watching the opposite edge. Even spacing matters more than forcing one corner to sit perfectly before the rest is aligned.
Removing bubbles and trapped dust
Small air bubbles may move toward an edge as the adhesive settles. Push them outward with a wrapped squeegee rather than pressing hard in one spot. A bubble with a visible speck at its center usually contains dust; lift the nearest corner carefully, remove the particle with a dust sticker, and lower the film again.
Allowing the adhesive to cure
Give the adhesive the time stated in the instructions before judging the final appearance. Avoid repeated pressing, vigorous cleaning, or fitting accessories against the edges during that period. A little haze or a few fine moisture marks can diminish as the protector settles, but large bubbles should be addressed promptly.
Maintain and replace the screen protector
A protector is a replaceable wear surface, not a permanent finish. Regular gentle cleaning keeps the display comfortable to use, while early attention to lifting edges prevents dust from spreading beneath it. Inspect the screen occasionally in daylight, when fine scratches and haze are easier to notice.
Keep records of the protector’s model coverage and finish so replacement does not become another fitment puzzle. This is also a good moment to review any unrelated accessory material, such as Cloudbuster pricing guidance, only if you are comparing broader vehicle purchases and not screen protection itself.
Cleaning without damaging the surface
Use a soft, clean microfiber cloth and light pressure. Remove loose grit before wiping, and avoid abrasive towels, sharp tools, and harsh solvents. If fingerprints remain, follow the product’s cleaning directions rather than repeatedly scrubbing the same patch.
Handling lifting edges and new bubbles
A lifted edge can collect dust and catch on a cloth or fingertip. Stop pressing it down if contamination has already entered underneath, because the edge may lift again. If the adhesive is damaged or the protector has shifted, replacement is usually neater than trying to rescue a compromised fit.
Recognizing scratches and reduced clarity
Replace the protector when scratches interrupt reading, haze makes the display tiring to view, or the surface no longer cleans evenly. A small mark may be harmless, but a network of scratches can scatter light and make glare worse. Also check whether touch response remains consistent across the entire screen.
Removing the old film safely
Switch the display off and warm the cabin naturally rather than applying concentrated heat. Lift a corner with a fingernail or a plastic pick, then peel slowly at a low angle. Clean remaining adhesive with only a screen-safe method; never scrape the display with metal.
Conclusion
Choosing and installing a Tesla screen protector film is mostly a matter of careful matching and patient preparation. Confirm the exact screen, select a finish that suits your cabin, align it on a clean surface, and replace it when wear begins to affect clarity or touch.
Frequently Asked Questions
Is a screen protector necessary for a Tesla display?
It is optional, but it can provide a replaceable surface against ordinary scratches, fingerprints, and daily contact. The value depends on how the vehicle is used and how much the owner wants to protect the original display.
Should I choose tempered glass or flexible film?
Choose tempered glass for a firmer feel and generally stronger impact protection, or flexible film for a thinner profile and easier handling around some curves. The exact result depends on the product’s construction and fit.
Does matte film reduce screen clarity?
Matte film can reduce reflections and make smudges less noticeable, but its textured surface may soften the image slightly. Clear film usually offers a brighter, more direct appearance.
How do I avoid bubbles during installation?
Clean the screen carefully, control dust, dry-fit the protector, and lower it gradually from one edge. Use a suitable squeegee to move air outward instead of pressing randomly across the surface.
Can I remove a screen protector without damaging the display?
Yes, usually. Lift a corner gently with a fingernail or plastic tool and peel slowly without metal tools or concentrated heat. Follow the product’s removal instructions if adhesive remains.
When should a screen protector be replaced?
Replace it when scratches, haze, lifting edges, persistent bubbles, or reduced touch comfort interfere with normal use. A protector that has shifted or collected dust under its edges is also a good candidate for replacement.
Can one protector fit every Tesla model?
No. Screen dimensions, trim, display positions, and model-year revisions vary. Always compare the protector’s listed fitment with the exact vehicle and screen you intend to cover.