
Key Takeaways
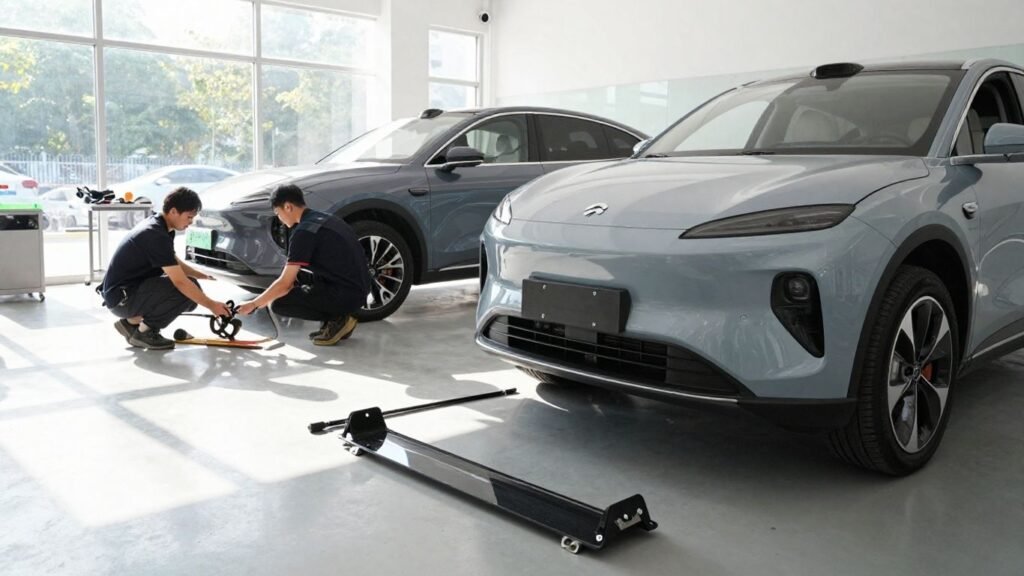
Repairing or replacing Tesla body panels requires careful attention to sensor compatibility, material differences, and strict adherence to technical guidelines. This guide provides an overview of the sourcing and installation process for vehicle restoration.
- Identify if your vehicle features radar or ultrasonic sensors behind the bumper.
- Select parts based on exact manufacturing model years to ensure proper fitment.
- Determine whether OEM or aftermarket panels better suit your budget and goals.
- Prioritize professional painting to match the complex multi-layer finish of factory paint.
- Always perform necessary software calibrations for safety systems after panels are removed.
Understanding your Tesla body repair options
Handling body work begins with evaluating the structural and aesthetic impact of an accident. Whether you are dealing with minor scratches or a necessary full replacement, identifying the right path depends on your vehicle’s specific technology stack and your risk tolerance for non-standard components. Proper preparation prevents complications during the installation process.
Assessing damage severity versus replacement necessity
Minor superficial damage often requires only paint correction, but deep gouges or structural deformation dictate a full swap of the fascia. You should inspect the mounting points behind the plastic to see if the underlying crash bar or sensor housing remains intact, as this change determines your repair path. For significant impacts, a full component replacement is often necessary to maintain the safety design of the frame.
Identifying specific model-year part compatibility
Many enthusiasts overlook how part revisions evolve between production cycles, leading to mismatched bolt patterns or sensor alignment issues. Using the Tesla Model Y front bumper fascia repair guidelines helps verify if your model year requires specific sensor housing modifications. Verification of the VIN and production date ensures that every replacement panel aligns with the factory engineering specifications of your specific build.
Managing insurance claims for cosmetic body repairs
Navigating insurance requires thorough documentation of the damage and a detailed estimate from a shop familiar with modern electric vehicle architecture. Obtaining a clear quote saves time, especially when your insurer mandates specific certified centers for the task. You might seek guidance from services like Regal Repair to understand how these professionals handle claims and restoration for premium electric vehicles.
Where to source high-quality replacement parts
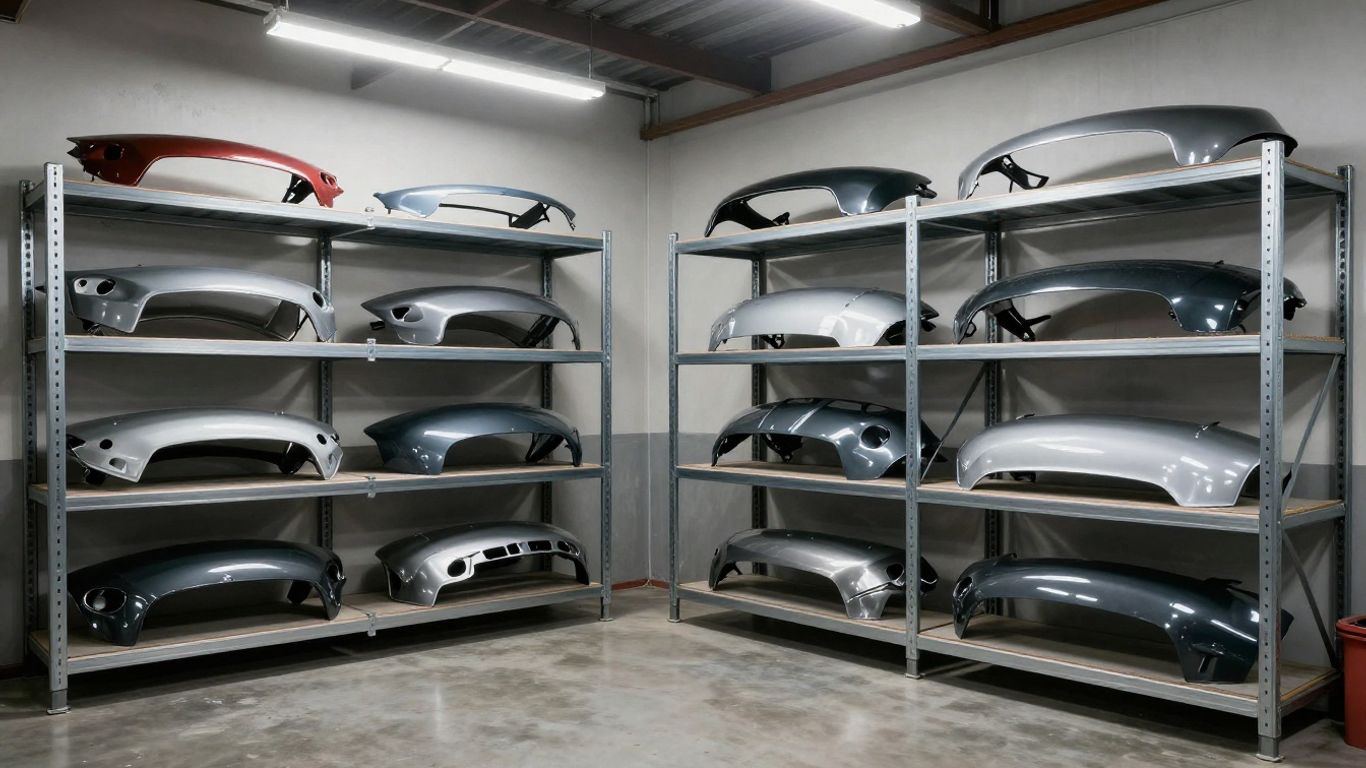
Sourcing the right components is the first hurdle in the restoration process. Availability fluctuates based on market demand and supply chain logistics, which is why having multiple legitimate procurement paths serves you well.
Purchasing directly from Tesla service centers
Service centers maintain the strict quality control required for factory-certified repairs. While this route is often more expensive, it guarantees the parts have been manufactured to current safety standards without compromise. This is the most reliable way to obtain components that strictly adhere to your vehicle’s original build requirements.
Evaluating reputable third-party body part suppliers
When factory parts are not available, specialized retailers fill the gap. Companies like Partify offer a wide range of components that are verified for fit and quality, making them a common choice for owners looking for efficiency. You must confirm that these items include necessary hardware or mounting points that your specific trim level requires.
Finding salvage yard components for potential cost savings
Salvage yards provide an opportunity to secure original parts at a significant discount for those performing their own repairs. However, you must meticulously inspect these panels for hidden cracks or structural fatigue that may not be apparent at first glance. If you are handy, these parts offer excellent value when sourced from identical, recently written-off vehicles.
OEM versus aftermarket Tesla body components
Deciding between factory-certified items and third-party panels involves comparing long-term reliability against immediate cost. Market variety has increased rapidly, allowing owners to customize their aesthetic while balancing the cost of repairs.
Benefits of factory-certified Tesla parts
Factory parts ensure perfect geometry and material consistency, which is vital for maintaining the vehicle’s original safety profile and aesthetic. They are engineered to interface with existing structural braces without the need for modification or excessive adjustments. Using certified panels preserves the integrity of the vehicle’s design and supports peak performance.
Cost advantages of budget-friendly aftermarket panels
Aftermarket options often provide a way to change the look of your car while saving money on the purchase price. Some manufacturers, such as T Sportline, create kits that improve aerodynamics and provide a more aggressive silhouette for the front and rear of your vehicle. These panels allow owners to balance aesthetics and cost effectively.
Quality differences in material weight and finish
| Feature | OEM Parts | Aftermarket Panels | Salvage Components |
|---|---|---|---|
| Material Consistency | High | Variable | Medium |
| Fitment Precision | Excellent | Moderate | High (if original) |
| Cost Efficiency | Low | High | Very High |
Selecting the right material requires understanding the physical composition of your original panels. While budget options might suffice for aesthetic goals, OEM parts typically offer a consistent gauge that simplifies the installation process. These differences often impact how paint adheres and how the panel sits over time.
Crucial considerations for color matching and paint
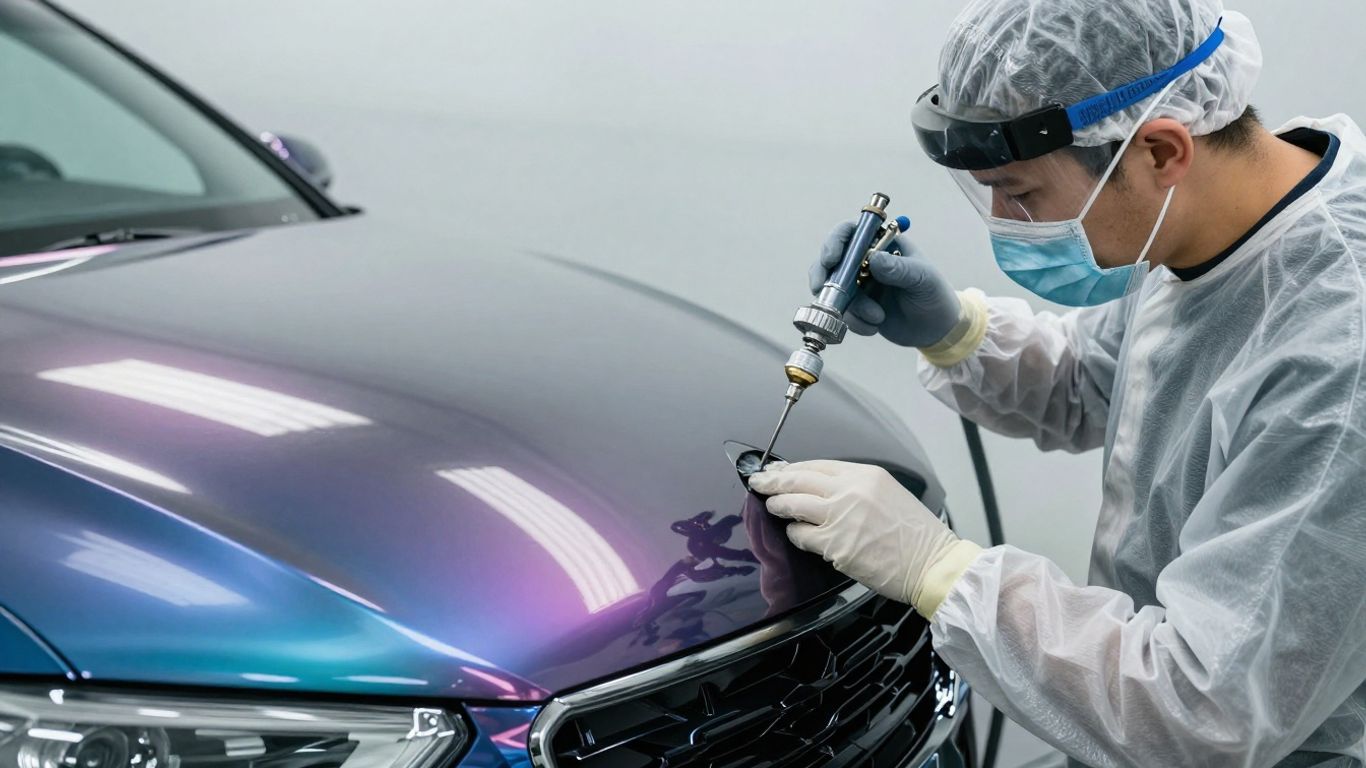
Achieving an invisible repair requires deep knowledge of the substrate and the specific paint system used on modern vehicle bodies. Even a minor deviation in color can make a replaced bumper stand out against the original doors and fenders.
Importance of professional paint code verification
Paint codes found on the vehicle label are the starting point, but experienced painters know that age and sun exposure require subtle adjustments. Professional labs often use spectro-photometers to measure the current tone of your car’s panels before mixing the paint. Relying solely on a base code often results in a mismatch that becomes obvious in direct sunlight.
Blending techniques for surrounding panels
To hide the transition between the new bumper and the existing hood or fenders, painters use blending. This approach involves fading the color outward into the adjacent panels so that the eye does not perceive the transition point. It is a labor-intensive but essential step for a truly professional outcome.
Handling the unique multi-layer paint technology of Tesla
Tesla uses advanced clear coat and multi-layer finishes that require specific application techniques. Many standard body shops struggle to replicate the depth and texture of these proprietary finishes. Ensure your paint professional has specific experience applying multi-layer coatings to avoid orange peel or uneven finishes that detract from the vehicle’s character.
Safety and structural integrity during installation
Installing a new bumper is not just about aesthetics; it involves housing sensitive hardware that governs the vehicle’s advanced sensory systems. Improper installation can lead to blind spots or incorrect distance reporting.
Protecting sophisticated ultrasonic sensor housings
Sensors embedded in the bumper must remain clear of debris and be flush with the panel surface to function as intended. If you force a panel into place, you risk damaging the delicate plastic clips that keep these sensors steady. Careful, manual verification of every connection point is mandatory to prevent system errors.
Necessary software calibrations after sensor panel removal
Once the sensors are re-installed, the vehicle’s onboard software often needs to be updated to recognize the new hardware position or verify its health. Failing to perform this step can trigger persistent dashboard alerts, indicating a calibration fault. Always verify if your specific sensor configuration needs a re-alignment command via the service menu.
Ensuring proper panel alignment for aerodynamic efficiency
Aerodynamics depend on the exact gap spacing between the bumper and the body panels. A misaligned panel can create unwanted wind noise or turbulence, affecting overall efficiency and range. Ensure that every fastener is torqued correctly in the sequence recommended to hold the panel flush.
Essential tools for DIY bumper and panel replacement
Performing your own work can be rewarding if you have the right inventory of equipment. Having a structured workspace and the correct tools turns a complex project into a manageable routine.
Required fastener tools and nylon pry bar sets
Standard metal screwdrivers often gouge the finish or crack the plastic during removal. Using non-marring nylon pry bars is the industry standard for popping off plastic trim without damage. You will also need a selection of torque-rated drivers for the structural bolts that hold the bumper to the frame.
Safety gear for handling large, fragile body panels
Large panels are prone to flexing and scratching during the transit from your workbench to the vehicle. Utilizing a padded stand or having a second person assist with the lift prevents accidental drops that could ruin an expensive new bumper cover. Always wear impact-resistant gloves to protect your hands from sharp mounting points.
Troubleshooting tips for common hidden bolt placements
Bolts are often tucked behind wheel liners or under specific trim pieces that are not immediately visible. Keeping a detailed photo journal as you remove every item helps you remember exactly where each fastener belongs during re-assembly. If you feel excess resistance, stop and investigate whether an additional screw is hidden in the fender well.
Conclusion
Restoring your vehicle’s appearance successfully requires a blend of mechanical patience and technical knowledge regarding your specific trim and model-year components. By sourcing parts carefully, adhering to installation guidelines, and prioritizing sensor integrity, you can achieve a professional-grade repair that restores your car to its original standards.
Frequently Asked Questions
Is it possible to repair deep gouges in plastic bumpers?
Plastic bumpers often respond well to professional filling and plastic welding, provided the structural integrity of the mounting tabs remains intact.
Do I need to recalibrate sensors after replacing the front bumper?
Yes, any time a bumper containing sensors is removed, a software calibration check is required to ensure the distance reporting remains accurate.
Can I paint a new bumper panel at home?
While possible, achieving the multi-layer finish found on modern vehicles is difficult, and professional spray applications are recommended for a color-matched result.
How can I tell if my bumper has radar sensors?
Check your specific model year production date against official service guidelines, as internal sensor locations vary across different versions.
What are the main benefits of using factory bumpers?
Factory bumpers offer guaranteed geometric compatibility and material strength that aligns perfectly with the original engineering of the vehicle.
How do I safely remove plastic clips without damage?
Use dedicated plastic pry tools and apply even, gentle pressure directly behind the fastener to release it without bending the surrounding material.
Does a damaged bumper affect the range of the vehicle?
A misaligned bumper can increase aerodynamic drag, potentially impacting the efficiency and overall range of the vehicle over longer drives.